Little holes in mesh

Hi Everyone,
I can't get rid of little holes in the fabric.
I've tried changing that placket piece of a mesh from triangle to quad, Particle Distance from 5 to 0.8, add thickness to 1.7mm but holes are still there.
I've picked up a mesh pulling forward however a hole mesh just goes in again. The placket sews on top of the body and sewing line type is tured.
Please help me with 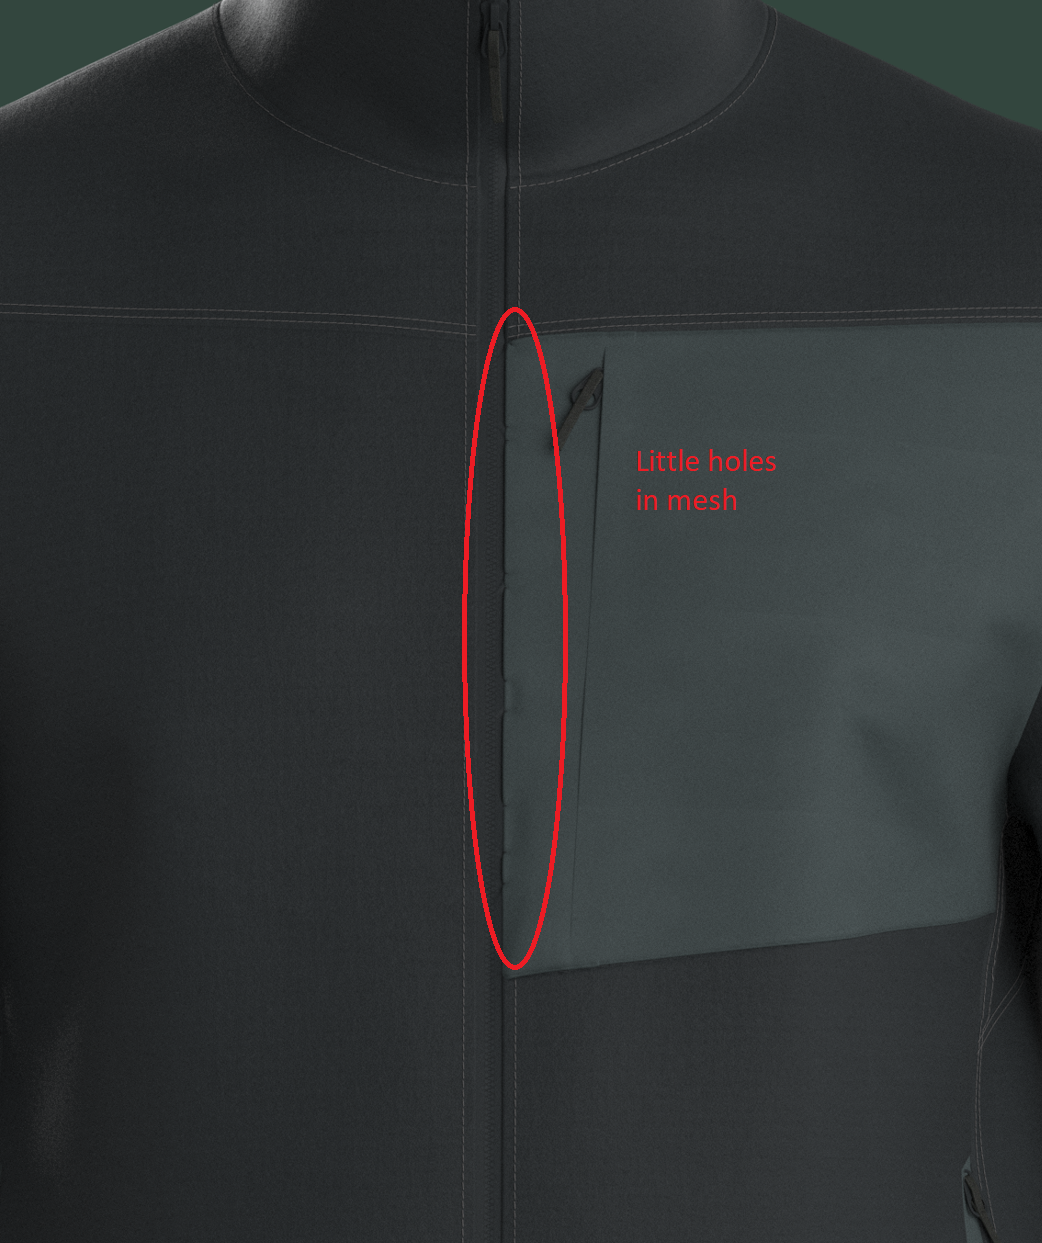 how to get rid of the holes. Thank you!
-
Your particle mesh density (5) would be a small as you should likely go (0.8) seems very small and actually might cause faults, you likely don't need to make the mesh so tiny as you can use pucker normal maps for small frequency detailing at seam edges if you need finer detail.
The default mesh type is triangular mesh, which simulates best for draping > there are also a number of modes in terms of simulation algorithm > the graphics card GPU for a fast work-in-progress simulation drape (good for assembly of your garment BUT not okay for a final beauty pass drape final simulation). Then there is the final drape simulation mode using the CPU which is dramatically better and used for final simulation work once your garment has been moved into the final pose position > this also has a few modes for time-frame-steps and quality so to get the best6physical simulation you should use the CPU and 'best' (slowest) simulation algorithm. You will find these in the top left corner (drop down) for simulation modes.
Failing that for tri-mesh, you can also change any pattern to quad mesh so the mesh grid flows with the straight lines of the pattern edges better, this brings some caveats, it may create mesh 'poles' that include some tri's or mesh vertex intersections that are less than ideal for high frequency detailing in the creasing (eg: gathering) unlike tri-mesh that can be much better ... so you need to try that out > I would only do that down to 5mm particle mesh distance.
Finally you can add in additional constraints to the pattern pieces on troublesome edges > for example if you want a creased pleat you can add in a crease line and crease tightness factor and set to '0' which will pull a pleat crease nice and sharp and straight at the edge. You can also place strengthening tape on a pattern edge by selecting the pattern edge at fault and applying tape to that edge in the property editor. You may also manually select vertexs that 'pinch' under simulation using the mesh marquee tool to manually pull them out (sometimes an option for still images where costly reworking may take too long) as a kinda fudge fix to get a visual out. It however best to place in the right constraints on your pattern piece and use the right simulation modes and strengthening options to ensure the construction always simulates well in any situation.
Don't forget the visual power of using 'frequency' separation in your workflows as you construct garment detailing. By looking at what details you can change technique for > as you work across a garments construction in CLO3D you can apply different strategies to bring back in high frequency detailing without costly simulation time at slow CPU (high polycount) frame-steps. This is how you can greatly accelerate your workflows > for example you could set aside an area of your project to create flat high quality pucker maps for all your tricky high frequency creasing details around stitching and pattern junctions using normal maps you bake down using a simple free application like shader map > that you re-import into CLO3D as high quality stitch and crease details - allowing you to keep your general pattern mesh to a higher particle mesh size and consequently a faster simulation time frame. You can see massive speed and detail quality improvements to all projects if you take that single approach.
You can bake flat pucker normal maps down to images that work with your patterns, this can add in higher frequency detailing to areas that would be costly to simulate. So you can go from nice straight pattern edge detailing with normals to more irregular patterns edges (eg: welt pocket below) - in effect you can get every type of seam edge / pattern edge you want, no matter the complexity by varying your technique in CLO3D.
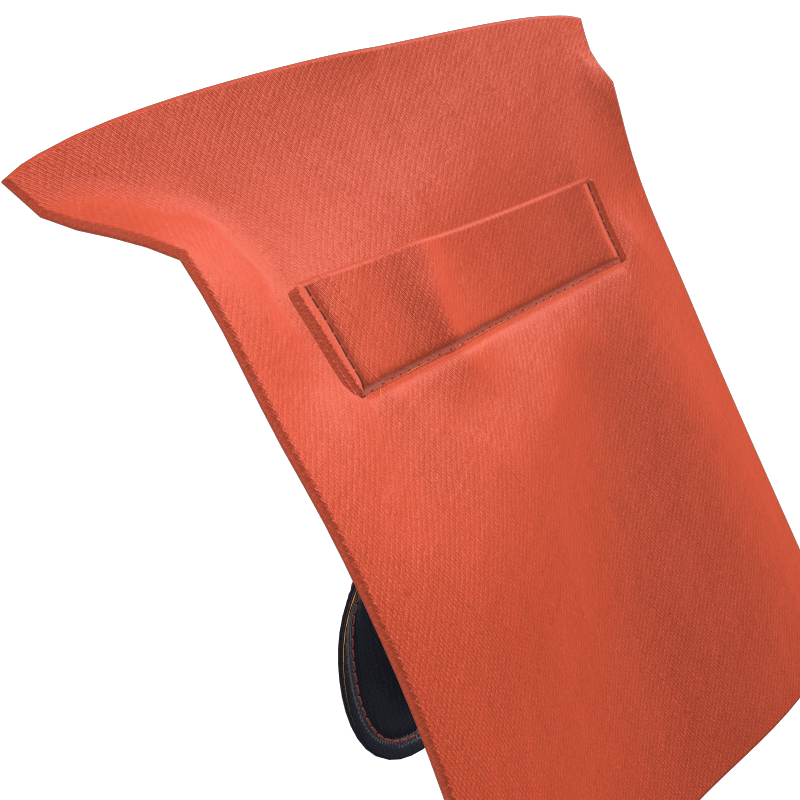
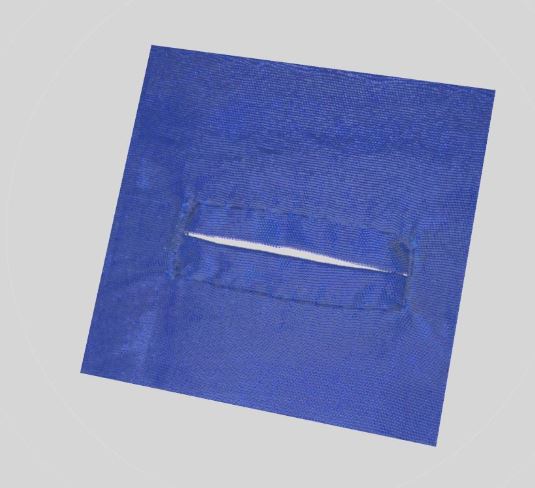
Where this is ideal to use in in seam edge pucker maps that you apply at seam junctions with stitching, you can load in your own custom detailing to get the high mesh density look without having to lower your garments overall particle mesh density too low. (below button hole with additional custom pucker maps)
Custom pucker maps >> post link

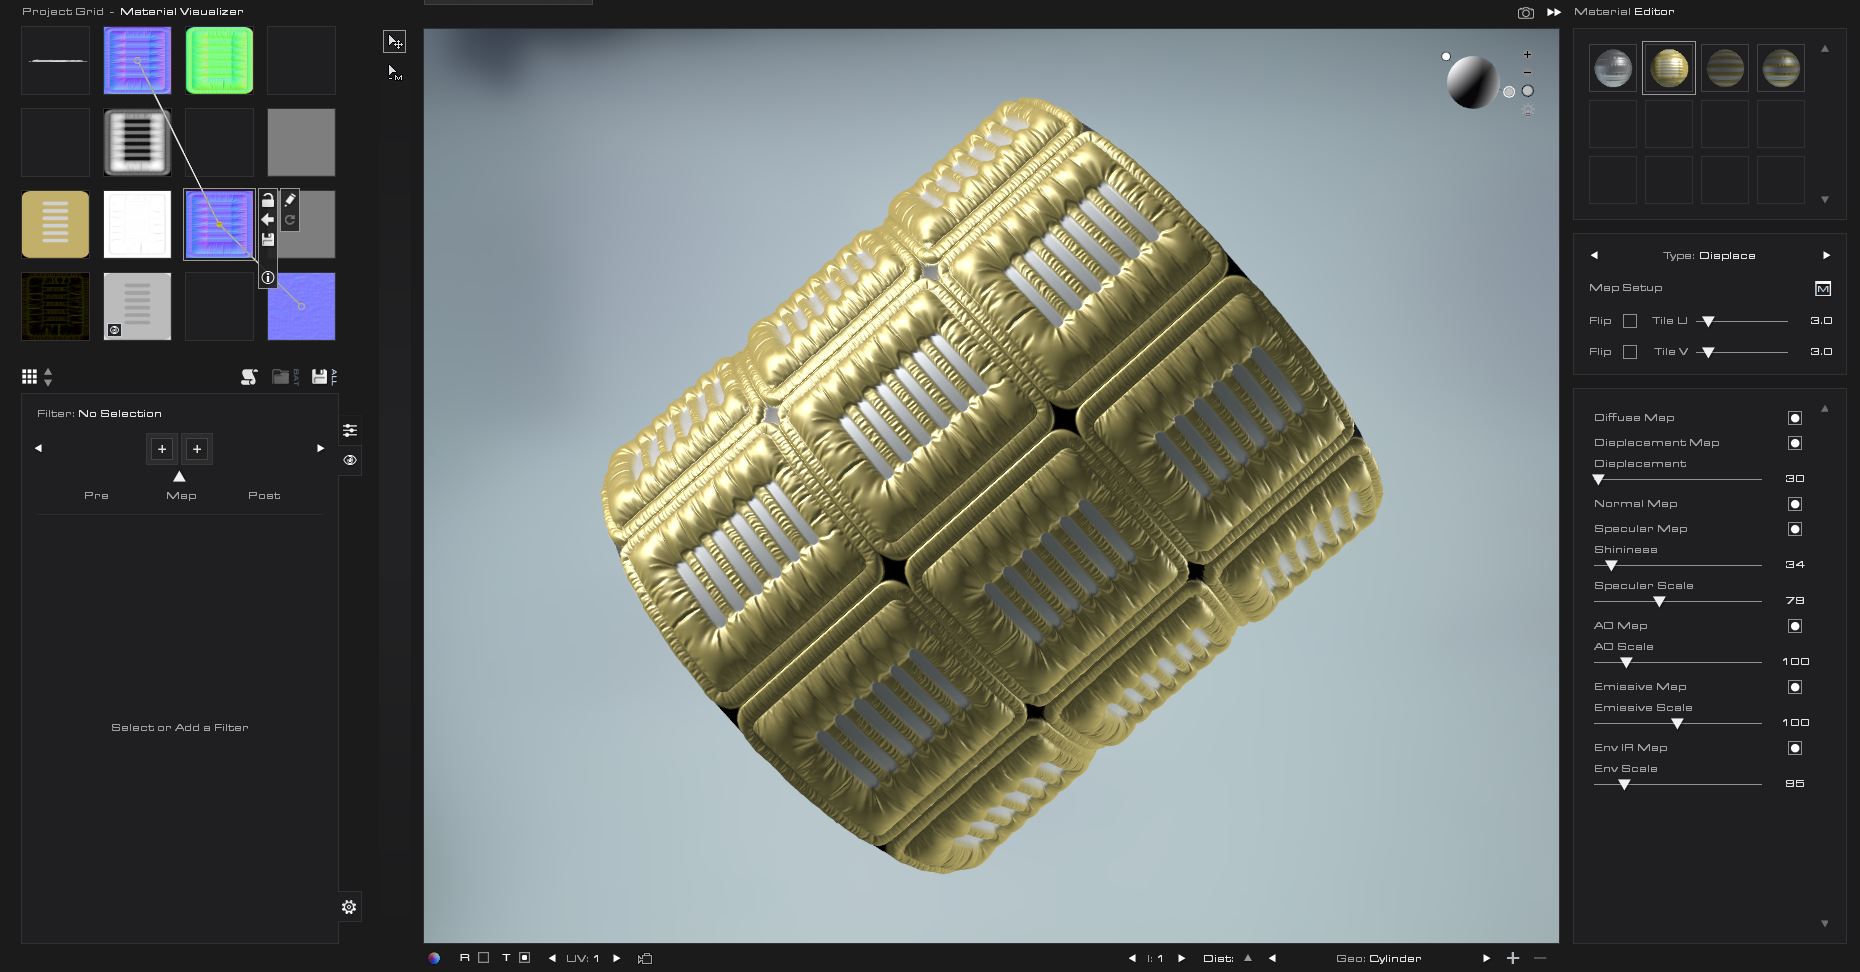
Shadermap PRO allows you to quickly bake down complex custom pucker maps for CLO3D - this app actually has a great normal map baking process that also allows you to add normals and edit them via layers ... which is perfect for cloth based projects. It also uses node graphs and has batch automation - all handy features.
 0
0 -
Thank you very much Ottoline! Lots of information and more details.
I've changed a particle distance to 5 and put a fuse. All holes are disappeared however a funny shadow remains between the zip and the placket. I changed the placket as cut and sew from sew on top. It works well. I'll try all your tips. Quite advanced hahaha! Thanks again!!
0
댓글