Trouble with Foldover Collar

Hello! I've been sewing together a soccer jersey pattern and am majorly struggling with the foldover collar. I feel like I've tried everything, please help!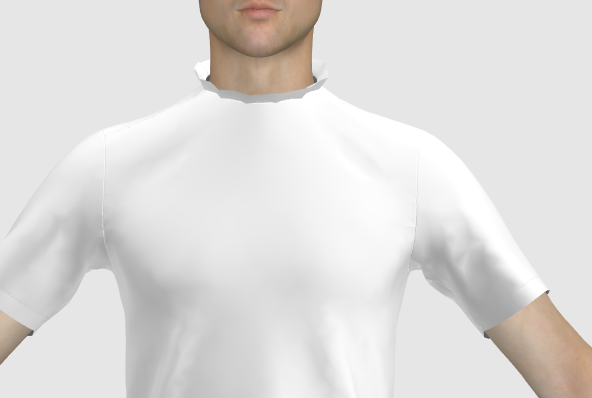
-
Hi Lauren. Can you share with us a reference image of what you are trying to accomplish? If it is a simple t-shirt collar you are better off using the hem tool or simply adding an offset internal line the width of the collar binding and then Cut & Sew that piece so you can have it in place as a separate piece. You can then add thickness to simulate the collar binding.
 1
1 -
Hi Pablo,
Here's what the collar looks like - Its folded in half and then attached to the front and back neckline, I can attach images of the front & back pieces if that will help too
 0
0 -
So, generally collars are folded pieces on top of the raw edge. If your front and back pieces have the neck drop and neck width measurements ok without the neck binding, then it is a matter of selecting the edges with the Edit Pattern (Z) tool and then right click to get the Offset as Internal Line option. With that make an internal line the width of your folded binding and then right click on that newly created line and Cut & Sew.
That way you will create two new pieces which will resemble your collar binding folded. Then you can increase the thickness of those pieces and make it look like a collar binding.
 2
2 -
ottoline, thanks for another detailed explanation, but please allow different ideas to be expressed without the need to be shutdown by you as if you are the bearer of all truth.
I didn't see any ribbed pattern in larenpryor's images. A soccer jersey generally will not have a ribbed collar binding. Why make it more difficult than it needs to be? When you suggest to make the binding half the height you are "cheating" too, as the actual piece is folded and then sewn IRL.
The binding is generally cut at a bias and I don't see you using 45° grain direction on your straight binding. So, you post your comment as "the way" of doing things, and then you take shortcuts too.
Also, I see that you are adding the coverstitch wrong. The looper thread of your coverstitch is not covering the raw edge of the binding. That is not the way it is supposed to be.
My suggestion for you is:
If you are coming in second to a post after someone else has posted a solution, acknowledge the previous post, comment on it if you want, but do not shut it down. Only then express your views as they are: YOUR views and not as "THE ONLY SOLUTION".
P
2 -
laurenpryor 01
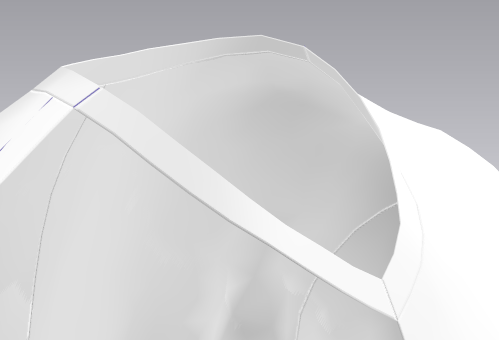
Use Fold arrangement tool on your rectangular pattern placing an internal fold line > select fold line in 3D window to raise fold gizmo > turn over pattern item > simulate down (set collar to strengthen when simulating ) > apply textures and seam stitching as you need.

https://support.clo3d.com/hc/en-us/articles/115012226507-Fold-Arrangement

Switch off fold rendering on collar to make edge soft (below) - or leave on for fold rendering effect > use Press for crisp edge on fold line.

rectangular pattern collar/binding one piece > folded over (above).
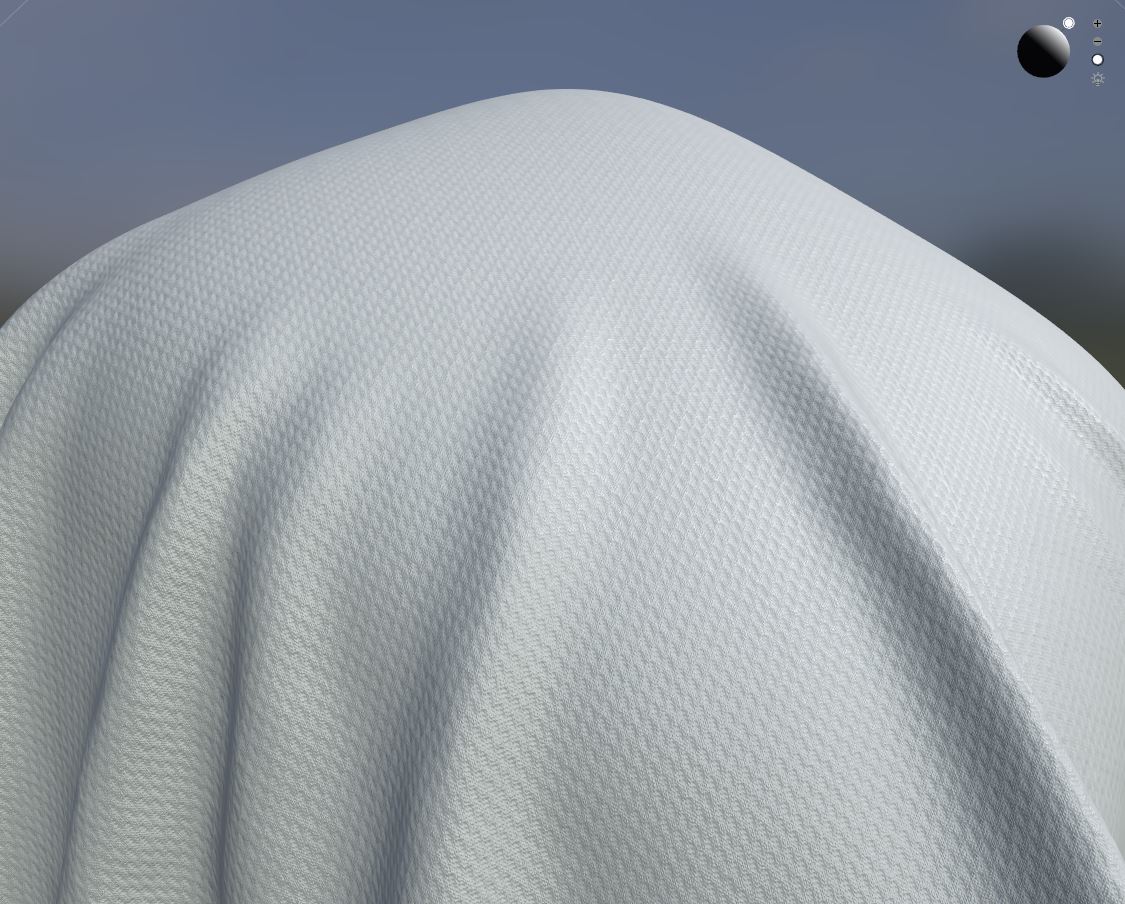
Choose your texture and apply your UV map vector artwork output to the pattern fabric.
2
Commentaires