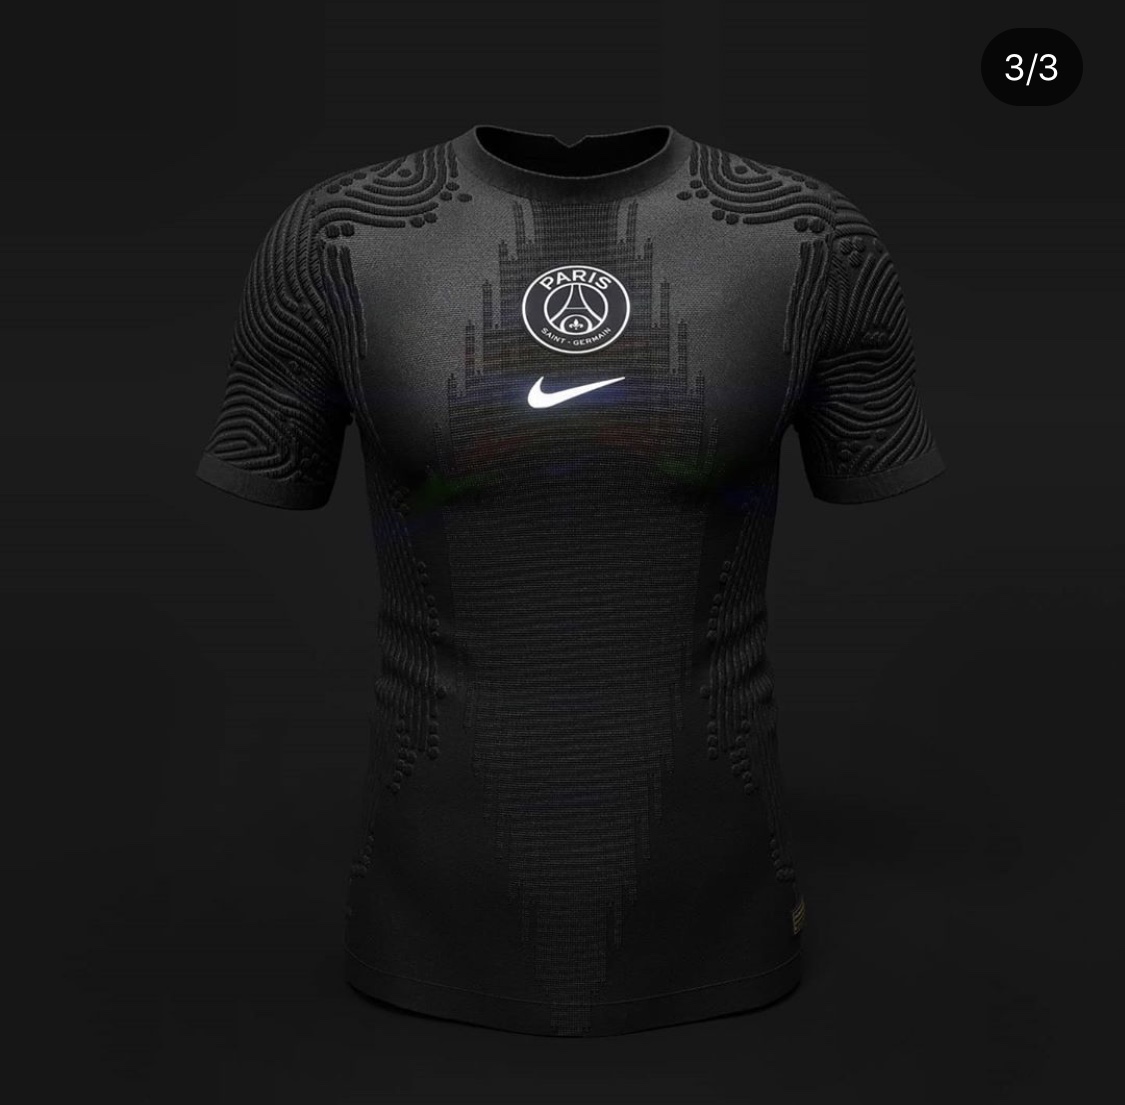
How to do this effect?

Hi all. I have the PNG of the sleeves and the front. When I try to put it on a displacement map, I don't get to put it at the same height as this person, it is smaller or bigger but I never want to, even if I modify the heights. If anyone needs the PNG to prove that they talk to me on Twitter: @conceptskits_
-
You set your height in the settings area for displacement and then your actual image map may need to also have some grey scale variation to get the subtle height difference in the raised flock type process.
You can use a simple free application like shader map 4.0 to take an artwork and create a normalized height map in grey scale, with blur. >> shadermap 4.0 Free
You can see the process where you can combine the line artwork and then add in the fine bump and even normal edge light to create a great texture. >> Post link showing the process.
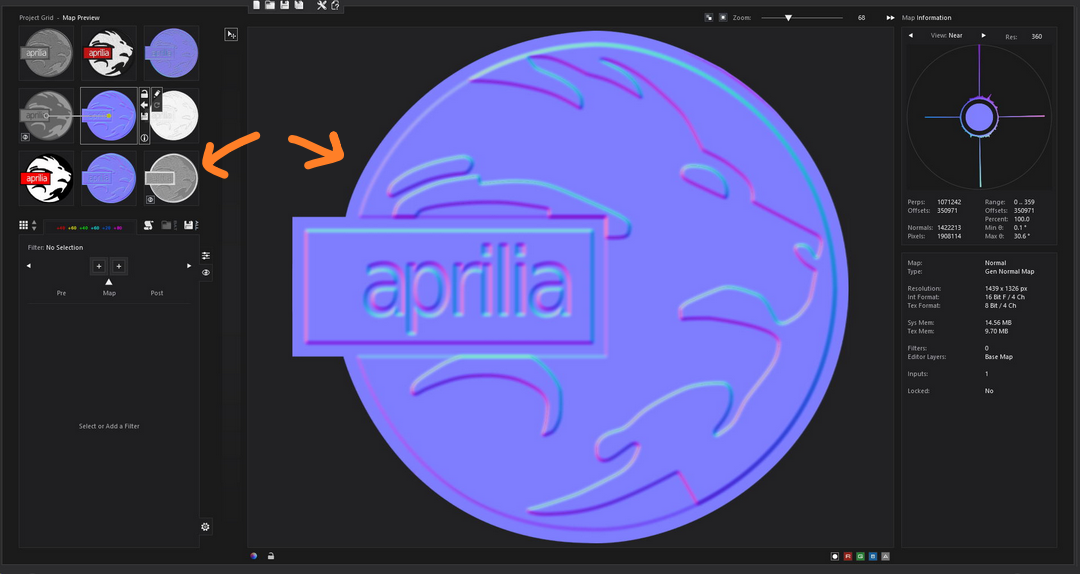
Convert your artwork from 0 to 1 values in grey scale (0 = black < to > 1 = white) pick level of grey to represent the height (0 > 126 > 255) in your texture at various areas in the design artwork. (see grey scale map of artwork below bottom right) that creates this height variation in this embroider badge it is the same process for your map you would use to create your depth map (grey scale image)
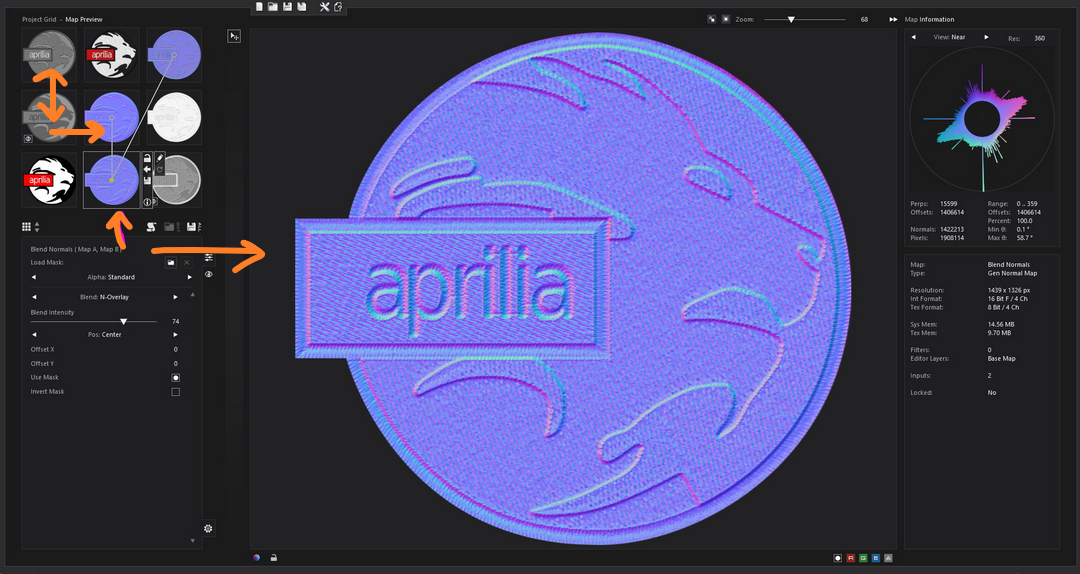
You can then add in (blend) additional textural surface micro detail (eg: stitching) by adding on top of the grey scale artwork map, to create even more detail. Here I take the stitch detail from the grey-scale map (top left) and combine it with the bottom right map to get the stitch surface detail in this light angle (normal map). All done using grey scale maps that range in (height) graduation from 0 (black) to 1 (white) values. It's important to add in edge blur between the fill areas so the transition is smooth between areas of fill. The more abrupt this is the sharper the height transition (edge) in the 3D simulation.
And the resultant texture these maps give.

Shader map is free to use so give it a go.
0 -
You could create a 126,126,126 RGB (grey) base and then add your PNG as a lighter color. The lighter color will indicate the rendering engine (V-Ray) that this should be calculated as displacement. Use slightly lighter colors than the base grey.
A good tip is to use a grayscale graded from 126 grey to whatever your light color is. What I mean is that your image shouldn't "jump" from grey to lighter color but transition.
0
Comments