How to trace a pattern from a book (or image)

Hi there!
Since college I've been using the Pattern Magic books to help me better understand patterns and try out new shapes. In this tutorial I demonstrate how to scan and create a pattern from a book or image. By working this way, I am more easily able to translate paper patternmaking into 3D.
VIDEO: HOW TO TRACE A PATTERN FROM A BOOK
STEPS BELOW:

Step 1: Scan your pattern, make sure the page is flat and not warped/distorted. Then crop away unnecessary information.

Step 2: Create a rectangle in CLO that encompasses the size you need for the pattern (in my case 74 cm). I worked that out by seeing the 66cm measurement on the pattern, and adding additional allowance as a buffer.

Step 3: Drag & Drop your pattern image onto the rectangle as a Texture.

Step 4: Create a reference line (you will be using this as a reference for how large to make the pattern texture). Pick something easy, for example, I used the 66cm Center Back Measurement.
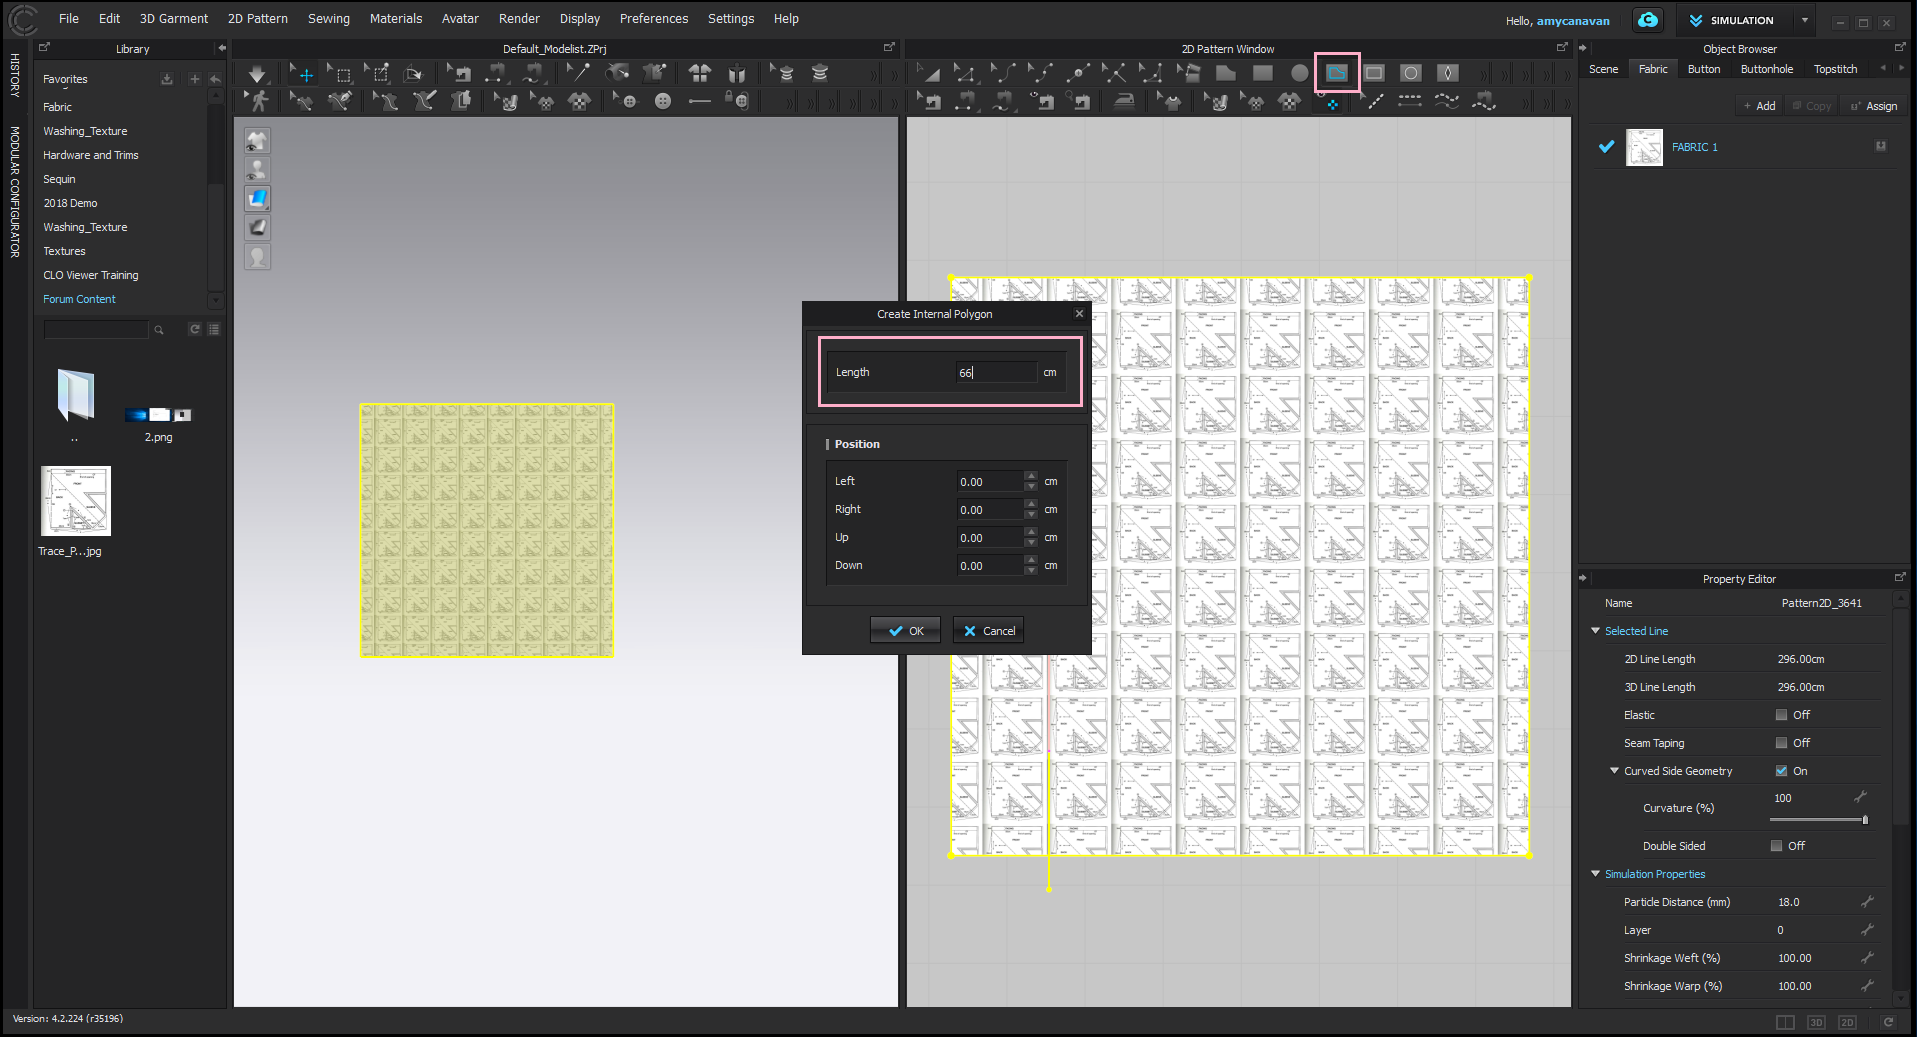
Step 5: Scale the Texture to match the image to your reference line. If you already know what size it needs to be, you can simply type it in under Texture Transformation in the Property Editor.

Step 6: Use the Internal Polygon/Line Tool to Trace the pattern edges. Tip: once finished, hide the texture on the pattern to make your workspace less chaotic.

Step 7: Extract out patterns (2 Steps)
a) For FULL SHAPES, use the Transform Pattern Tool to right-click > Clone as Pattern
b) for OPEN SHAPES / INDIVIDUAL LINES use the Trace Tool to select all relevant pattern edges, right-click > Trace as Pattern

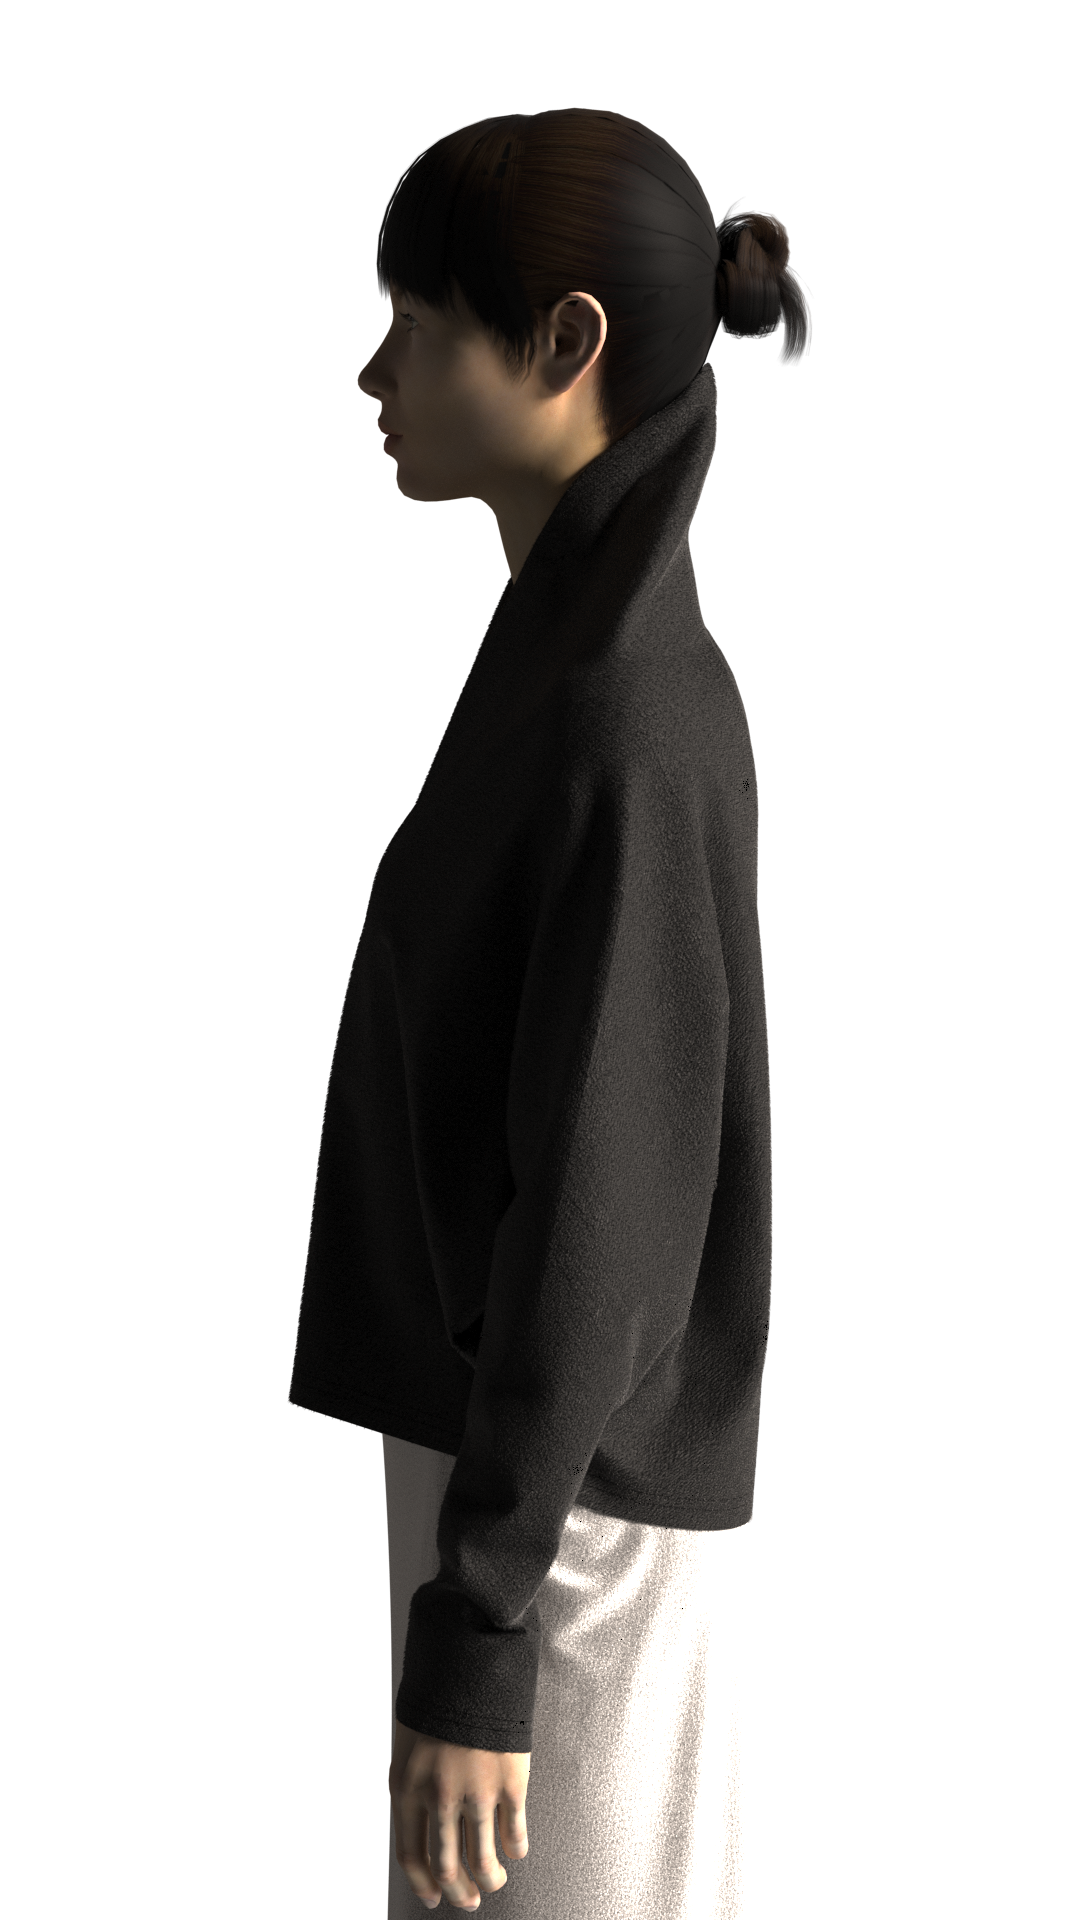
Step 8: Create your 3D model from your pattern!


Good luck!
-
love the texture and the shape!!
0 -
(and the render)
0
評論