Lining and facing questions on bag

Hi Guys!
I am having a go at copying a bag so I can practice adding linings, facings etc. Is there a preferred way to add linings to bags on clo3d? I would love to hear suggestions on the best practice for this! Thanks.
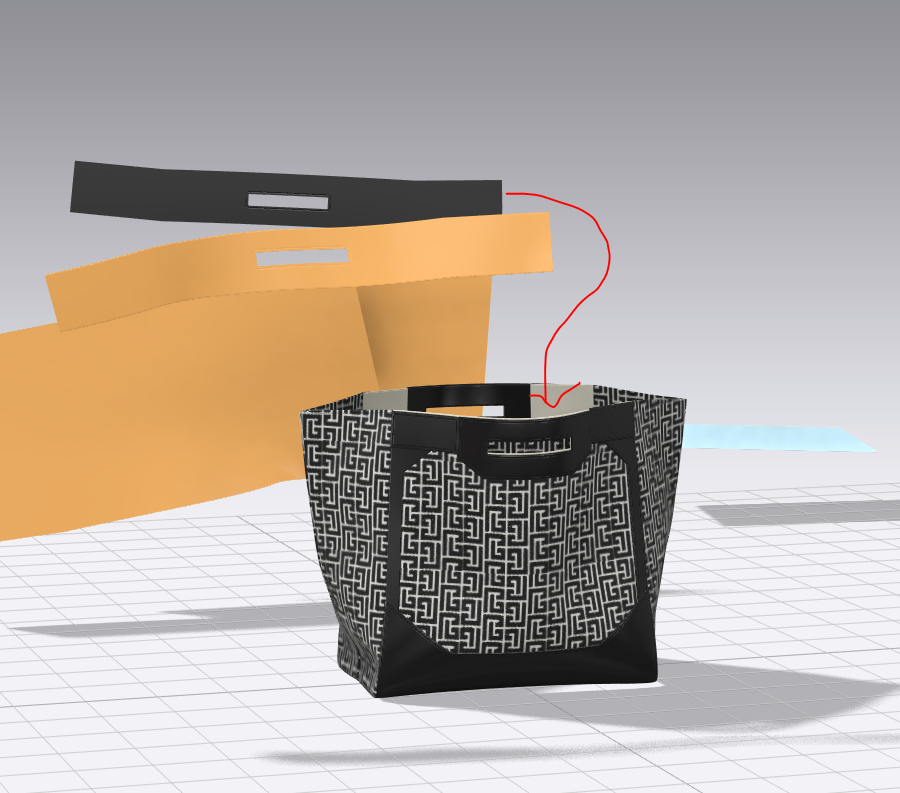
note: Please note that the item is not finished and details are to be refined :)
-
Comentário oficial
alexloz From where you are at the moment if you sew the lining pieces to their corresponding outer pieces, then select them in the 3D window, Right Click and choose Superimpose Under, this will place them where they should be. You can then use the Sublayer Tool to assign the layering and if you want the inside to be a separate lining undo the sewing you used for the Superimpose and sew the pieces to themselves.
-
Hey!
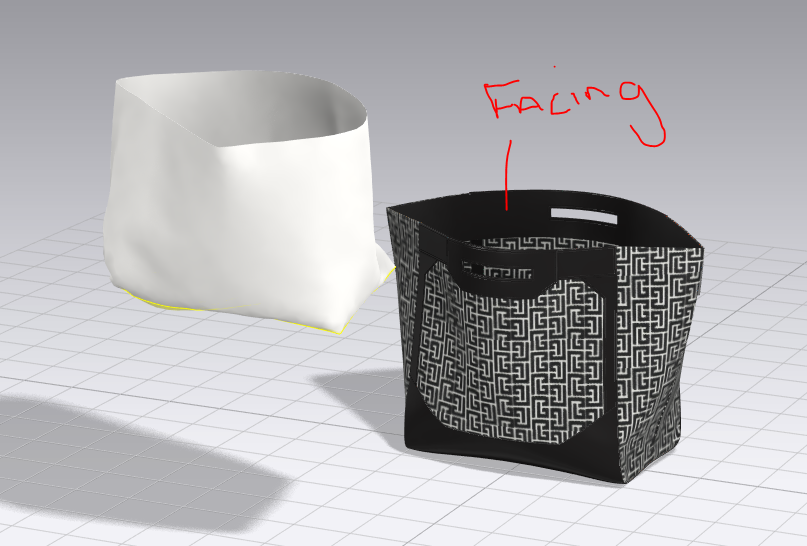
I have sewn the outer lining together as you said. But I do not understand the next steps. I have super imposed the facing to the top edge.
When I try to superimpose the lining to the facing goes as below:
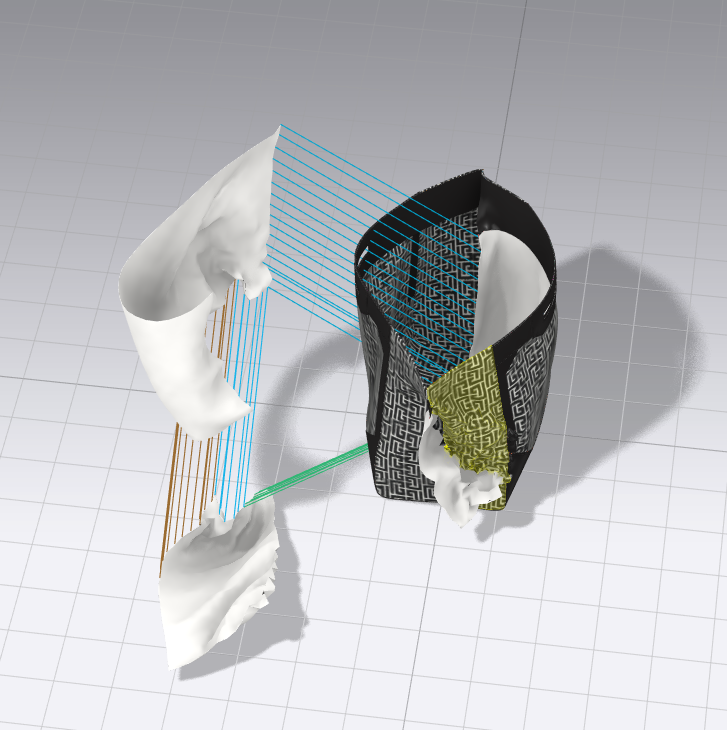
Thanks
0 -
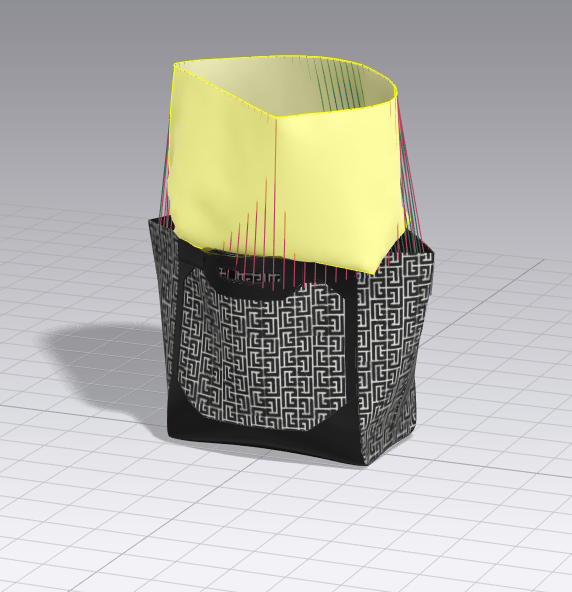
alexloz You are right there! Deactivate the facing temporarily. Get the lining and the outer in place and stable. Activate the facing. Considering removing the sewing on the bottom of the facing and sew it to the lining.
0 -
When you clone an outer pattern to become an inner lining pattern duplicate, all of the outer shape pattern edges sew directly to the previous pattern as a default, so you often need to remove some of these sewing lines or reset them so the cloned patterns have sewing that fits the lining construction. eg: that the lining is a bag construction and not directly sewn at the bottom or to all the origination patterns, only the rim sewing lines should be retained the rest need to be renewed or edited.
0 -
Alex, the way I approach linings, is to create a bag without all the handles and details of the outer shell first. Just the basic shape. Then you can Layer Clone Under all the pieces. This will position the lining in all the right places of the bag. Before continuing, I will remove the linked editing of the outer shell to the lining, remove the sewing lines and sew the lining again just as it should be: independent of the outer shell.
Now, you can simulate the internal lining with the outer shell frozen and even add some pressure to the lining so it bloats inside the bag.
Finally, with these two basic shapes in place, you can start adding the details to the outer shell and inner lining.
0
Comentários