How do I apply surface roughness to rendering?


- 3D Window
-Rendering
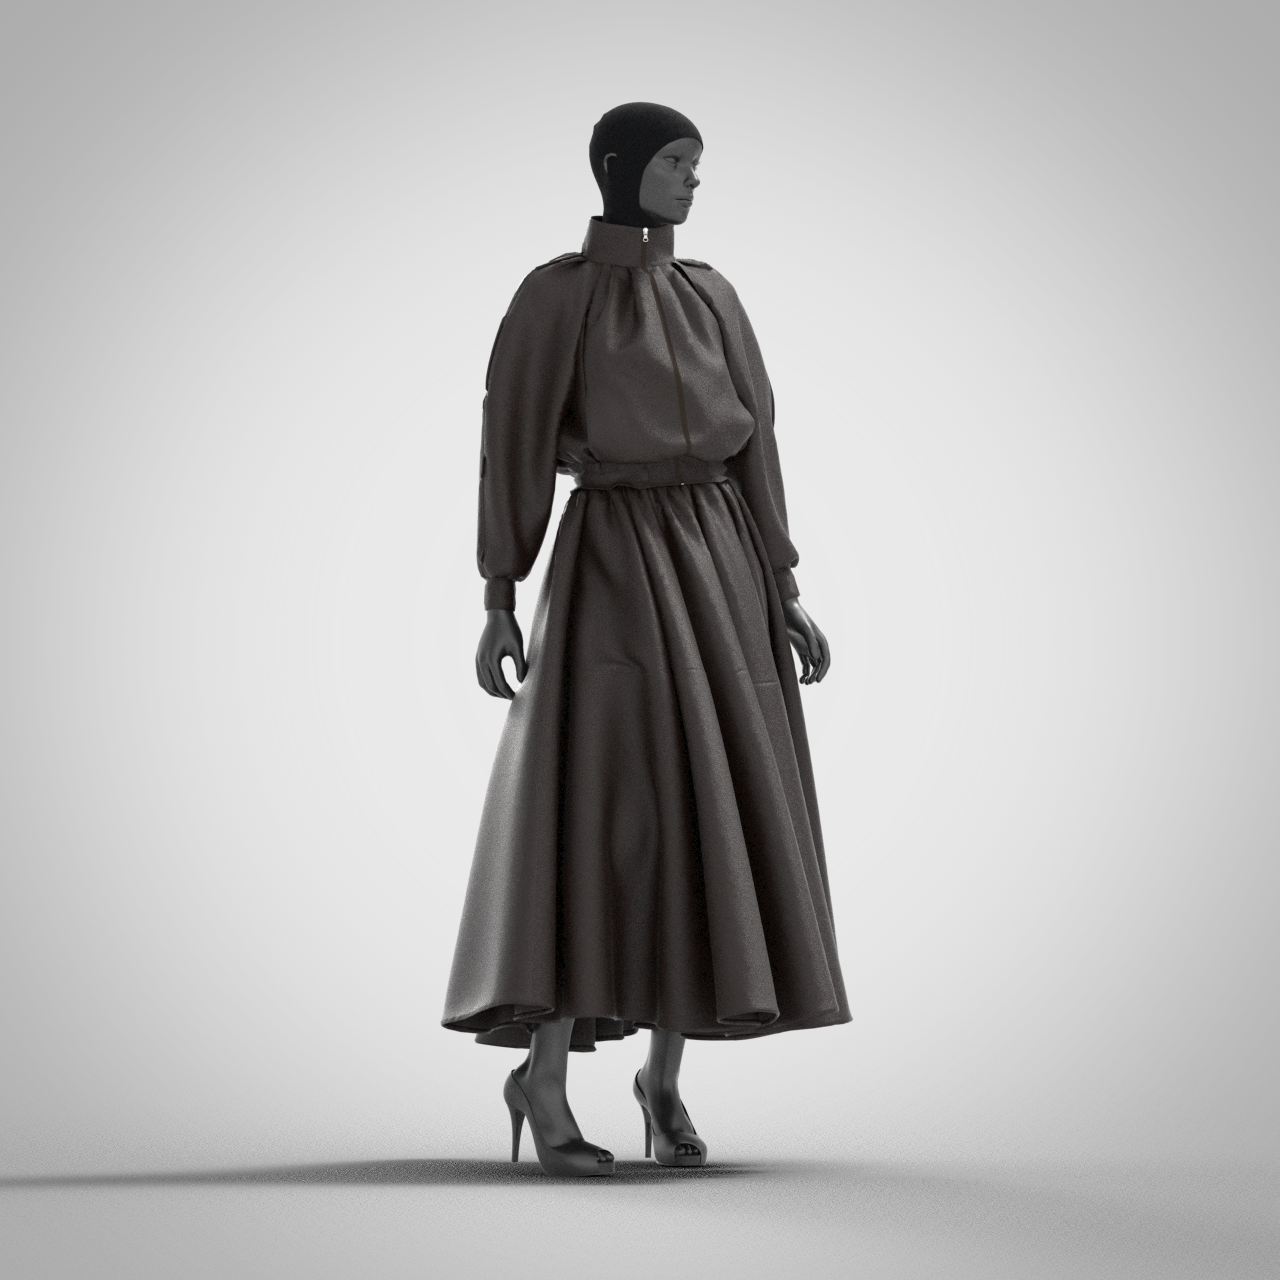
In the 3D costume window, there is a fabric with surface roughness and reflective strength,
but when rendering is applied, it comes out as if it was not applied.
I don't think there's anything like this in the rendering setting, but is the surface roughness or reflective strength that I changed from the fabric setting not applied to the rendering?
-
Note: the 3D working window is for PBR material preview mode. However the Vray render mode brings up a seperate internal scene render image view of the same 3D scene you see in the PBR working preview mode. R. The PBR preview 3D 'real-time' working mode is not the final vray mode - so these are different render engines for different purposes. The realtime PBR mode is simply to get all your PBR materials in position, scale and colorway and the vray render pass is for final marketing rendered stills/animation turntable frames. So a vray fabric shader that uses material texture maps in one render engine will not look the same as in the other (vray) render engine. Like most render softwares there are two modes > work in progess realtime preview and then the high quality visual output from render passes. CLO3D is no different in this respect.
You can apply roughness as a texture repeat tile map or as a material shader value OR you may also load a garments 2D pattern UV texture atlas roughness map that you bake from the UV editor workspace.
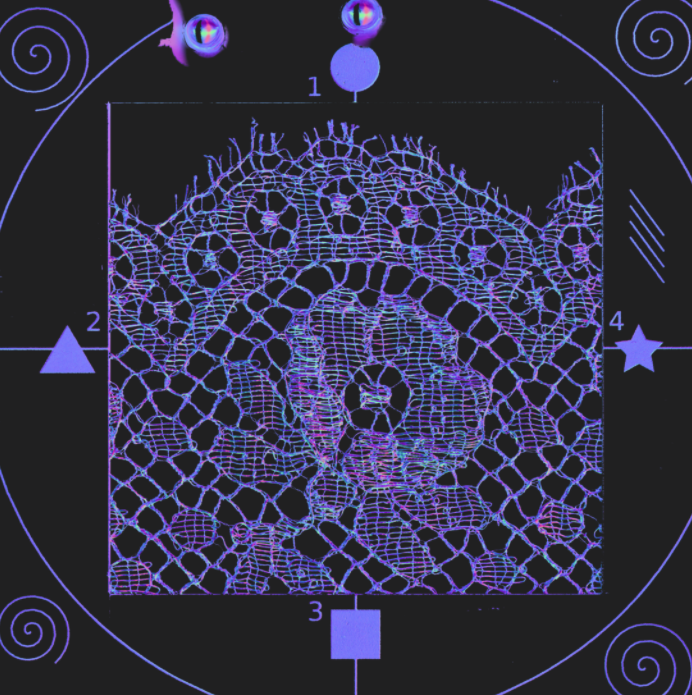
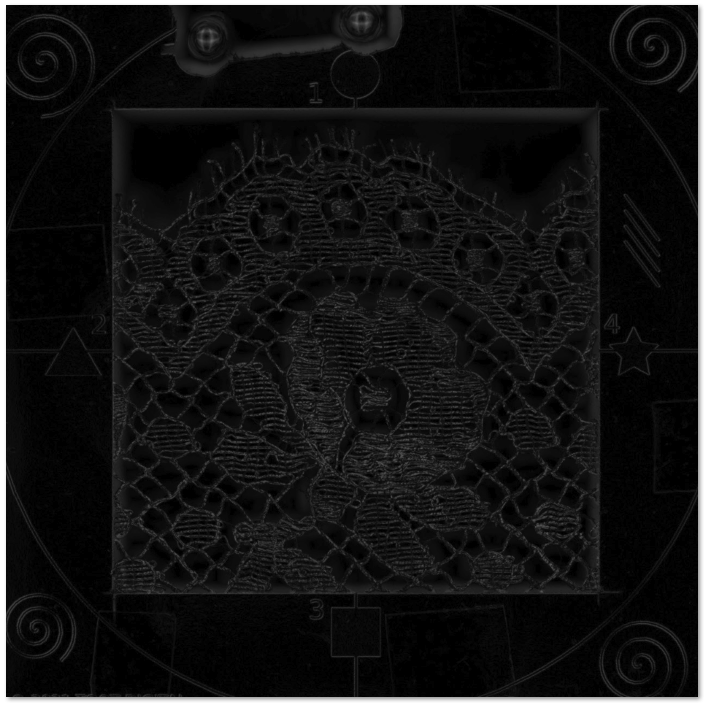
Most fabrics fine (high) frequency surface detail is handled by the specular map > which is simply the gloss/roughness map or specular map inverted.
So to get all that 'nuanced' cloth weave surface detail in your render requires a really great specular image that is converted (inverted) to use as a gloss/roughness map. And then you also need to make sure you choose the correct material shader in the property editor with vray. So ensure you have chosen the correct fabric material shader type [selected] before you apply your gloss/roughness texture map.
Below ( a good quality digitized normal with matching specular map) will make a huge difference. So ensure your textile images are high quality.
 0
0
コメント