Workflow for Creating More Realistic Seams

Hello! I am trying to recreate some elements on a skirt but don't know exactly how.
For this elastic waistband, I used the cut and sew method to separate the gathered areas of different scales. This was the outcome: 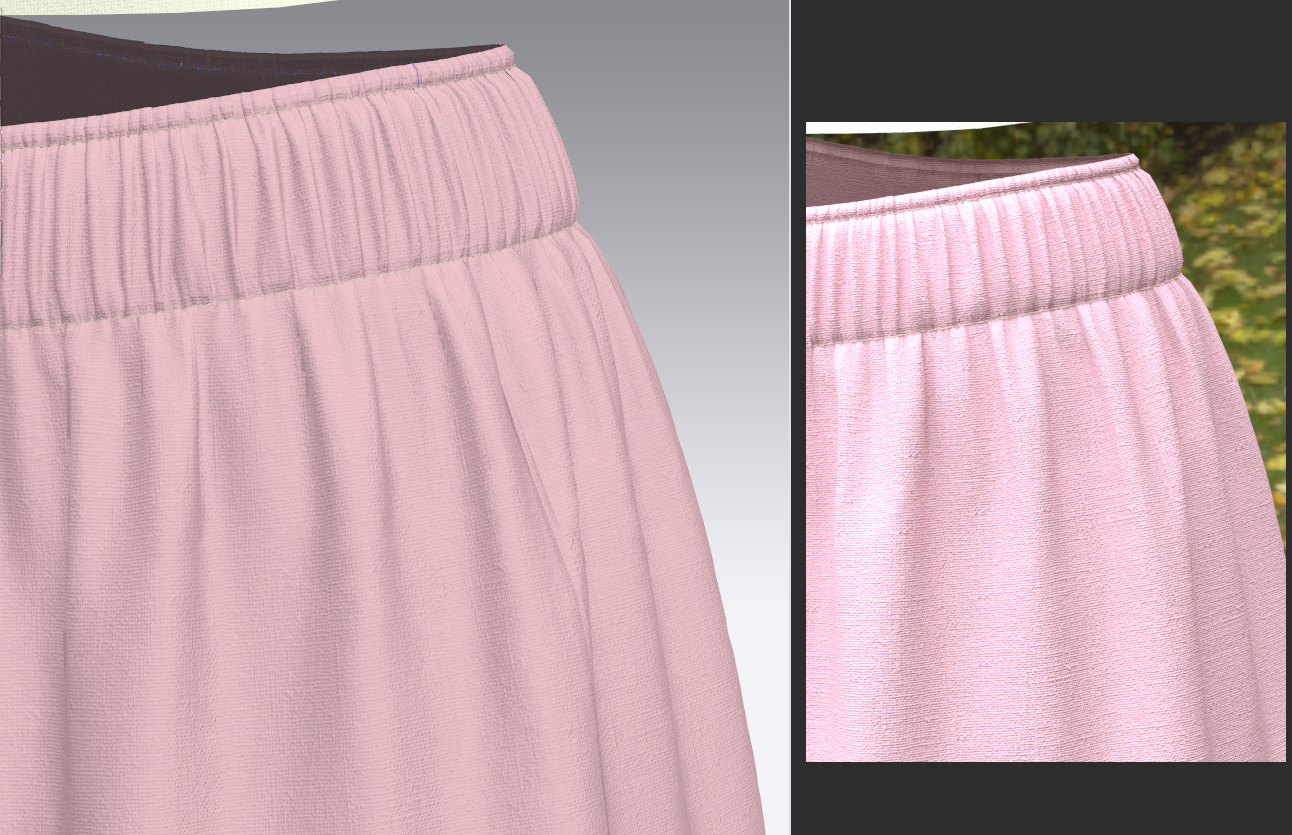
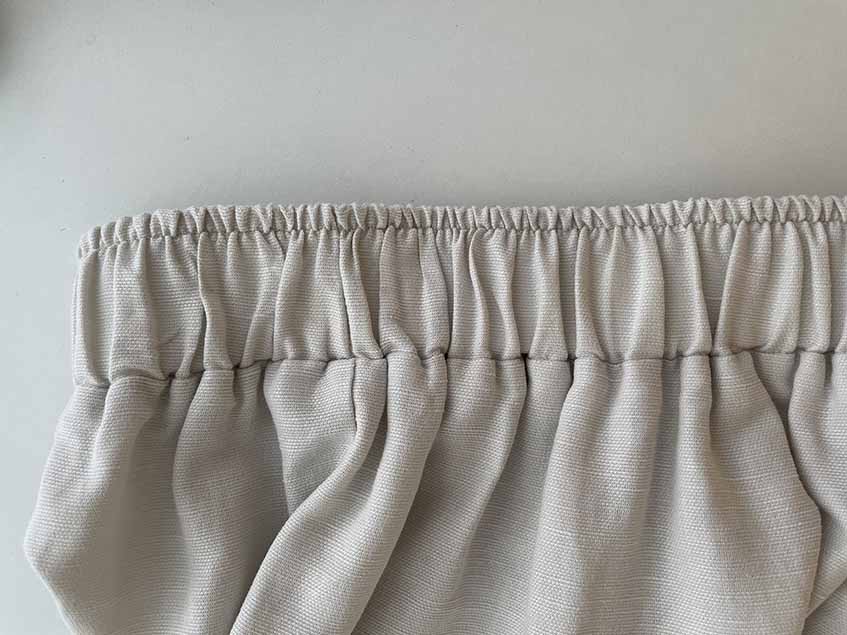
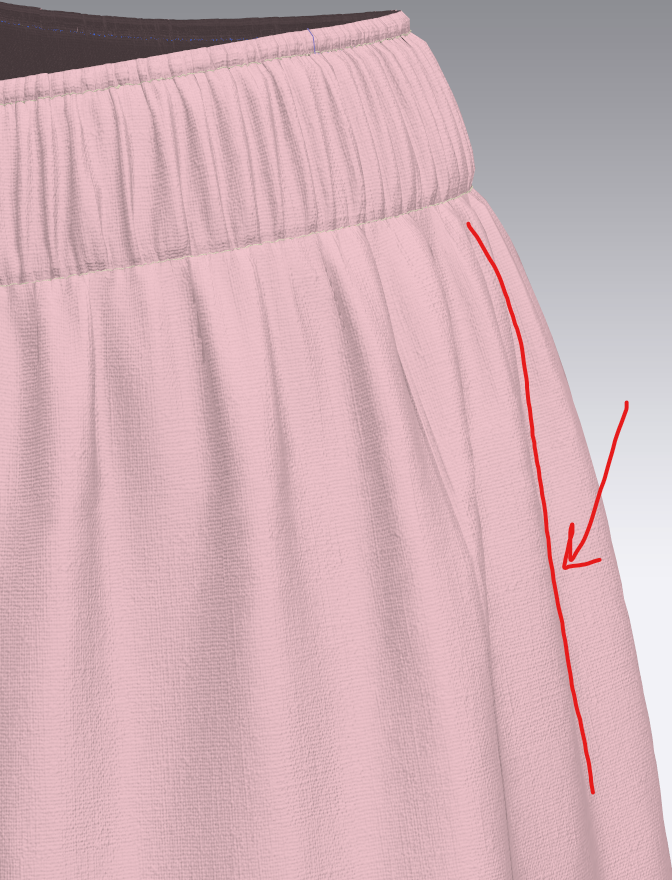
I'm trying to get the puckers and gathers more realistic. The puckers are really specific so I'm guessing I need a normal map to reflect the puckers better (seems like using elastic properties isn't working)? However, I'm not sure what the workflow to that is. I've done normal maps using Photoshop for fabrics by making the repeat black and white and applying the 3D filter, which is easy because it's tiled on a grid, but am not sure how to set up the Photoshop file for seams, especially for this waistband (all I kind of know is that seam normal maps are tiled lengthwise so the image needs to be a line like the defaults in CLO) since there is that bumpy edge on the top from the gathers. I tried removing the background from the edge, but don't know where to end the image (see yellow arrow) since the puckers merge right into the gathers on the skirt (red arrow). 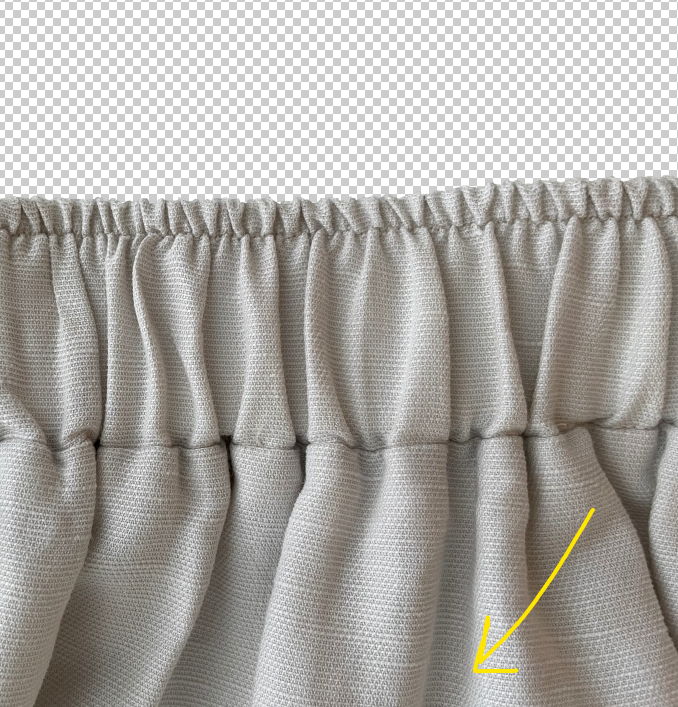
Without making any changes, this is the normal map I got:

Does this look right...? I have a feeling the bottom part won't blend into the gathers naturally.
Also, I would like to know, when dropping the normal map into the puckering properties, is there anything else I should look out for? Maybe the thickness of the seams, etc?
Hope this question makes sense. Thankful for any pointers!
-
Hi yaph401,
Thanks for your question.
Your result already looks quite good.
Of course, the thickness of the fabric helps to achieve a realistic look. Additionally, I can recommend the use of shirring in the property editor. We are also working on a more realistic look with an automated feature for version 7.0 next year. This will assist you in creating your design.
Thanks,
CLO Team
0
コメント