how to get best quality

Hi,
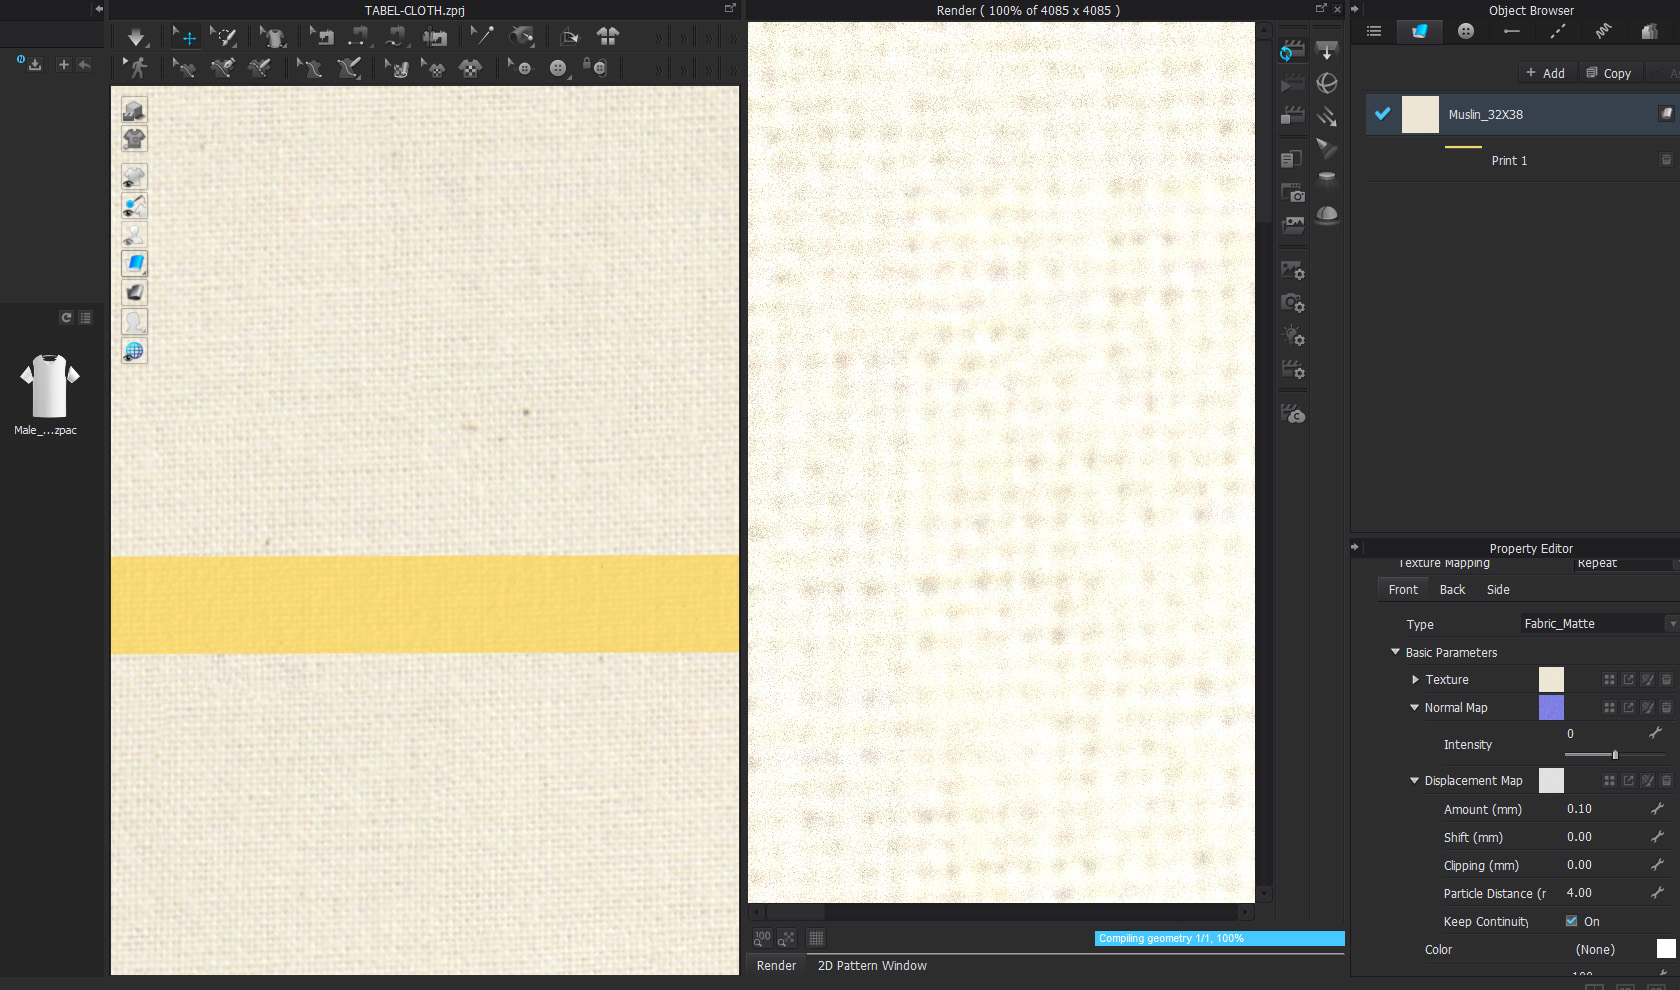
how to get best quality with 60"x84" piece under 50,000 triangles and how to add design of multi color stripes with realistic effect
Regards,
Neeraj
-
If you are wanting to add the stripe as a fabric texture you should do this as part of the diffuse image if you want it to tile repeatedly, or if you only want the stripe to appear in a specific location on the pattern piece you can create a copy of your fabric, apply a 2D vector artwork graphic onto the same diffuse fabric and position it using the graphic print option that allows you to place a print repeat over a base (diffuse) fabric at yardage width in the print fabric. Finally you could load the stripe from vector artwork and place as a 2D graphic onto the pattern piece itself using thhe2D gizmo to locate and orientate. So three options you can use with relative ease.
Note: Because CLO3D and Adobe substance add artwork over materials onto shaders they do not subtract the weave (openess) from the graphic you have to manually do that in some cases, which in texture simulation is quite bad for simulation of real materials to values that you would find in production, for example arahe weave has a special image tool that subtracts the top dye overprint (vector artwork image) from the weave fabric below so it appears true to real production and within cg simulation, to achieve similar within CLO3D you actually need to do this work in the diffuse map outside using image software as that is the only way to create a realistic 'blend' onto the albedo/diffuse such that the open weave and areas of CG ink cover only the fabric contact areas. Maybe both substance adobe and CLO3D will improve this in future for overprint onto digital fabric textures. But that does need to be looked into because at camera render scale (distance) it can create a false simulation color of how a digital to real world simulation (eg: production) will actually really print on open weaves and fabrics where ink color bleed through giving a false color balance on the final item.
0
コメント