Layering on avatar

Hi all, I seem to have run into a problem I don't know how to solve! I specialise in making wedding dresses and am trying something new out! As some of you may know, wedding dresses involve a lot of layers.

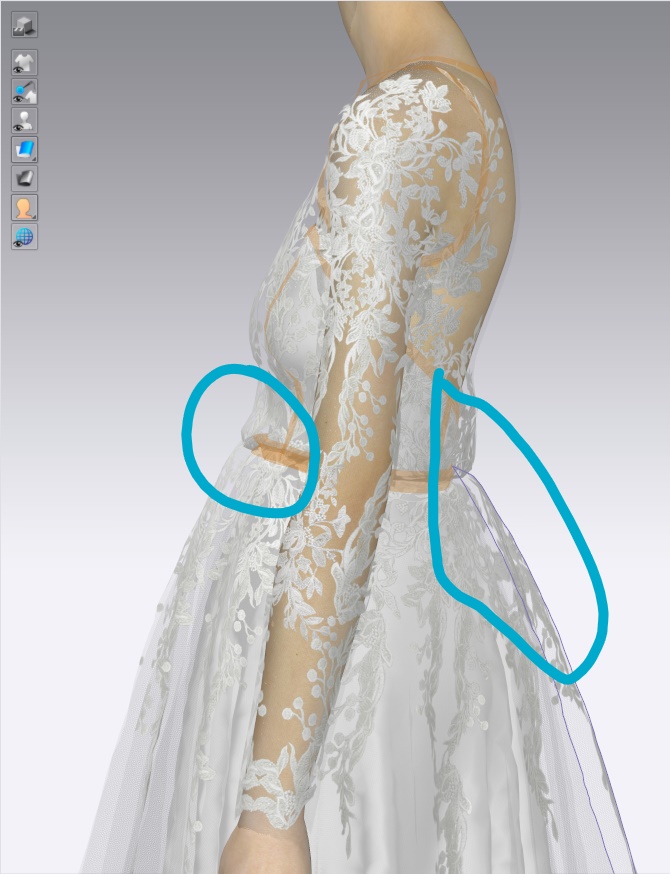
Currently, the problem is that the more layers I introduce, the 'thicker' the garment becomes. I use mainly tulle.. so it shouldn't broaden as much as CLO is thickening it by. Is there a way I can change the fabric settings so it sits directly on top of its sublayers?
It just doesn't reflect the properties of tulle - please help!!
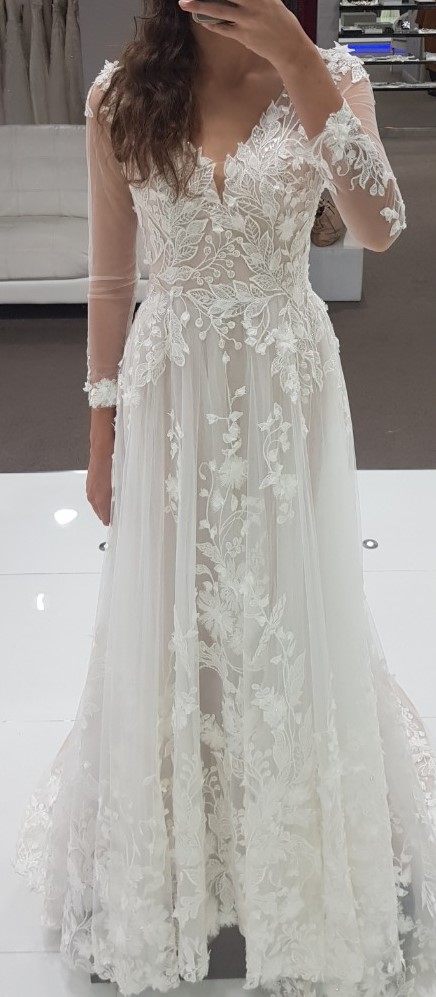
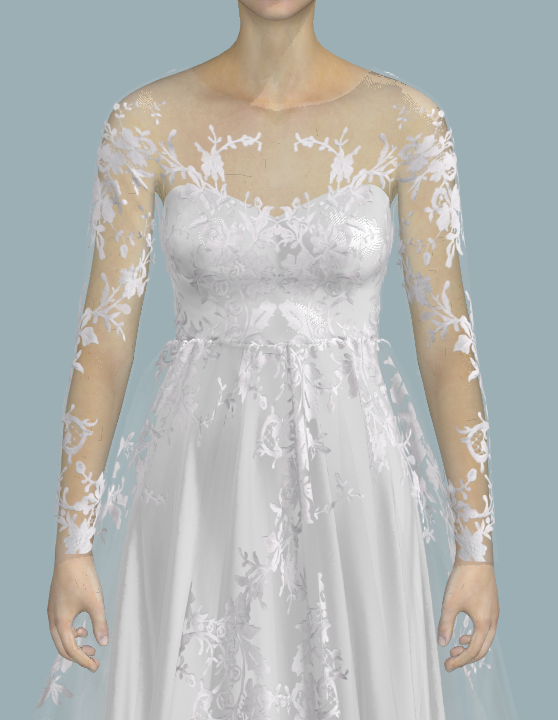
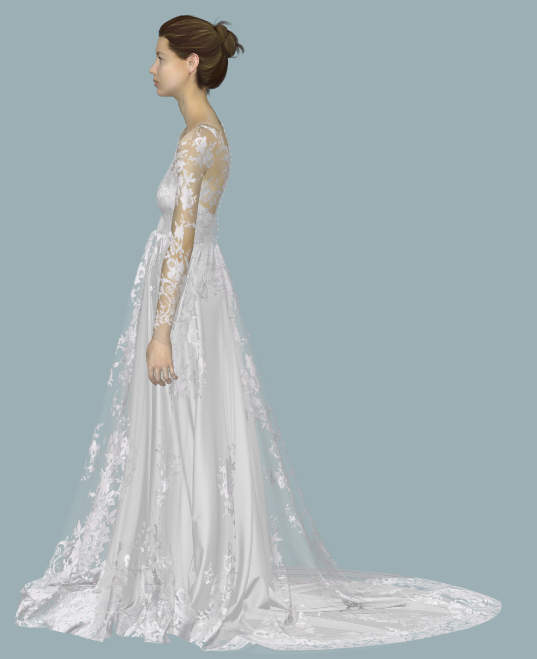
FYI, This is what the pattern should look like on an actual person, the skirt should sit flat on the body. This dress has 1 lining layer and 2 tulle layers on top, same as what I've drafted on CLO:
-
Fabric and patterns and the avatar all have a collision offset setting. You can reduce these so they are not so large and thereby reduce the accumulative effect as you build layers.
The avatar has a general skin offset thickness of 3mm. You could perhaps reduce this down.

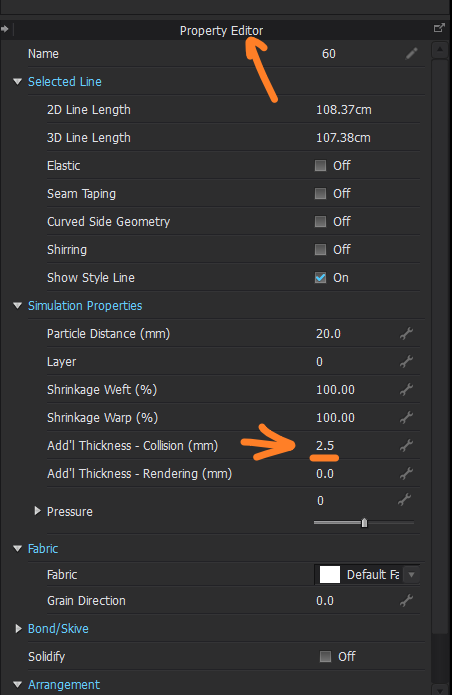
Patterns can have their additional collision offset thickness set, and you could also reduce this. The offset (surface collision) is calculated either side from the single thin surface cloth plane.
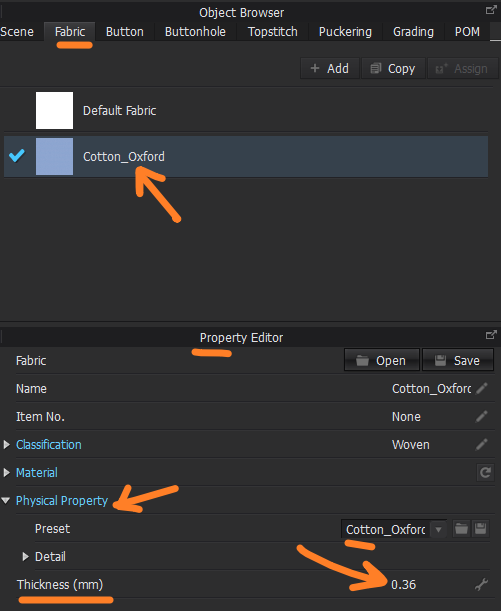
Fabric presets also have some basic offset collision. So perhaps just check this to make sure that it is realistic to the fabric you choose.
Finally, how you set your fabric mesh density on certain detail areas, like gathering at waist etc, can add in additional un-natural drape. So my reducing the mesh particle size (adding in shirring by select pattern edge details) in these areas enables the cloth to fold tighter in areas of construction detail.
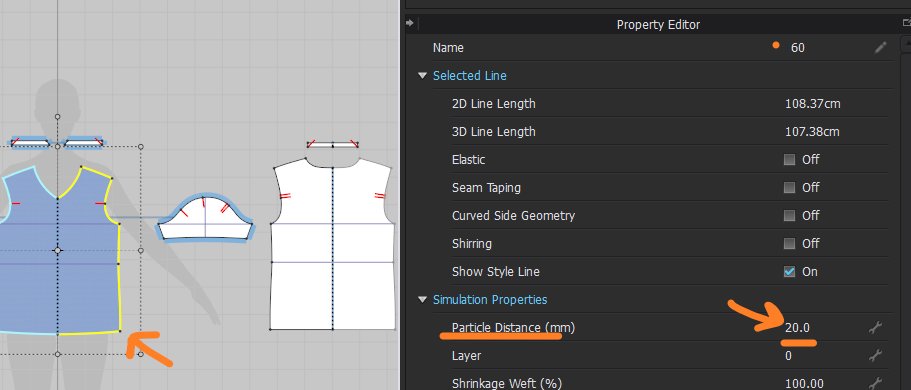
Make sure general cloth mesh particle size is good for the frequency of assembled drape creasing you would get in a real world garment.

Above you can increase local mesh particle density by adding in (toggling on) the shirring for detail areas where you need smaller creasing and drape bending between layers.
So those are my tips.
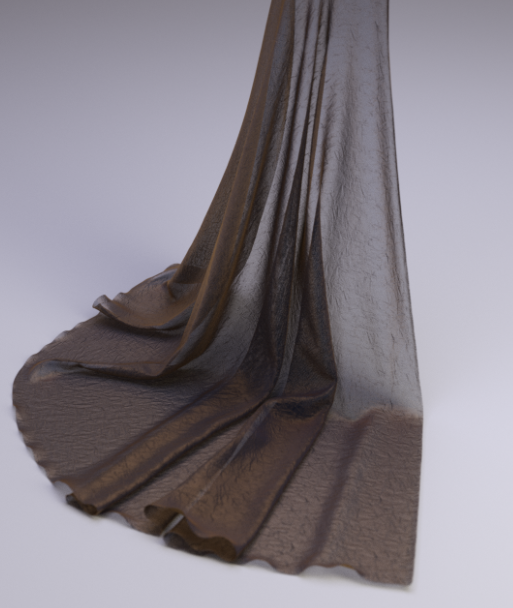
Tulle gold fabric simulated using weave mask map from scan, with depth height map.
Lace trim scan, using separate RGB spectrum of light images (recombined and calibrated) using custom made hardware I developed.
0 -
Hi ottoline, thank you so much for your helpful advice. I got it working and this is what it looks like now:
I ended up changing the following:
Fabric Add'I Thickness Collision - 1.0mm
Fabric thickness: 0.05mm (to match tulle fabric)
Once I have finished my designs, I change the particle distance from 20 to 5, simulated it and rendered it on CLOSET to get the above images. I only changed the particle distance once I have finished as my computer can't handle it at 5 particle distance.
Thanks so much for your help again!
0
コメント