How to make Welt pocket in clo 3d?


-
Hi Alirabby. Here is a quick way. All the finer details will require you to put additional effort to play with the seam lines fold and strength, the 3D effects of those seamlines, add'l thickness, etc.
For the first part this is how I would do it:
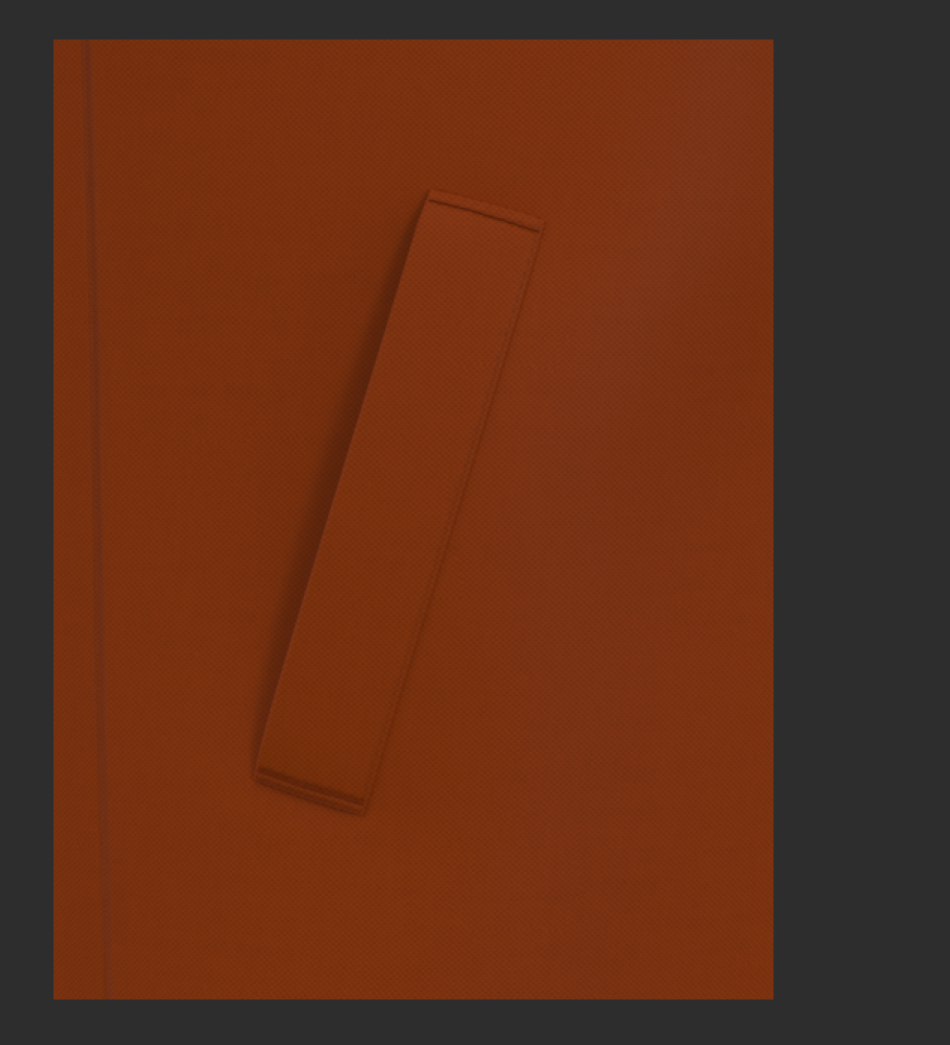
1. Cut the pocket opening with a small rectangle.

2. Seam tape the part of the rectangle that you will not have sewn to add support and avoid distortion.

3. Add sewing lines as extensions from the current opening and modify the cut piece to the width of your welt. Stitch the three sides shown.

4. Add the finer details like stitching, additional thickness, etc.
5. Share with the Community your results!
P
0 -
 0
0 -
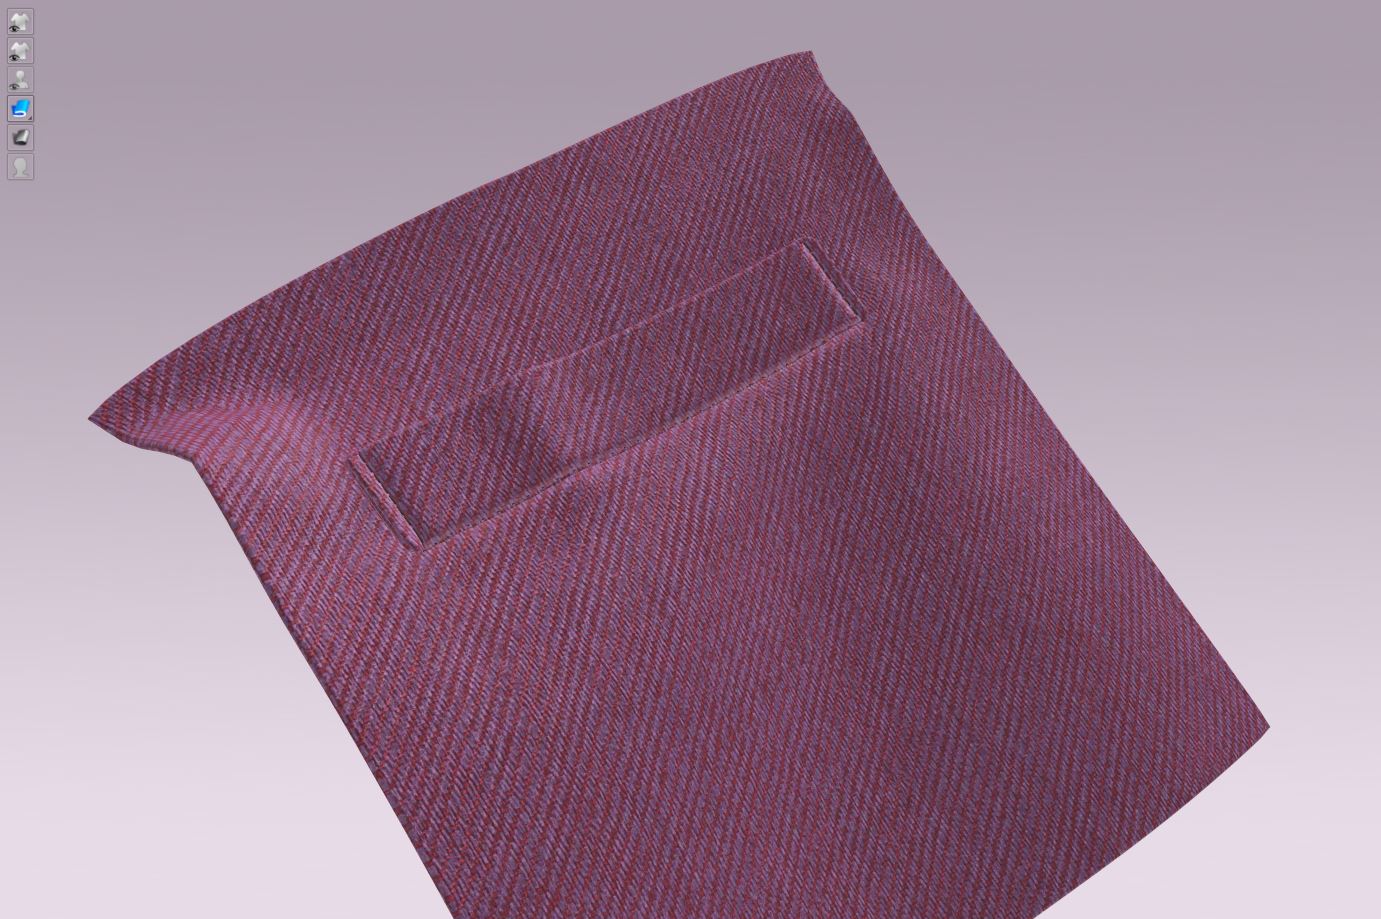
Alirabby786 best to keep it simple to control the edge normal's for welt style pockets. See how I keep all the control in the edge normal's so I get maximum edge detailing and sewing detailing with all the radii kept in control numerically. This allows me to quickly adjust any of the elements as I work. The pocket style also allows me to quickly shift to 3 other styles of welt pocket - with no real work flow penalty.

I just toss in a simple pocket in behind. Set to layers, simulate and then shift back to layer zero. I keep a nice roll from the welt into the pocket (behind) as it would be in construction.

I might add in a little weft % increase (103%) on the pocket trim just to push the pocket out a little, that's really down to some fine tweaking dependent on how I want the wool fabric to look. Notice I might also bond (Blue example) in some extra stiffening. Depends if I am looking for the pocket under to push the outer layer out a little so it's more realistic to manufacture.

I don't finish off the rear of the pocket other than this simple level as it's often not seen, but it will contribute to the build up of thickness in the garment so I always tend to put this level of detail in. Quick to do.

Transparent view so you can see how it goes together. Some edge taping on the lower pocket cut-line.

Really simple sewing here, but what is important is setting the 3D sewing line curvature and the angle. Otherwise you loose all those nice details for any close up views or when passing into the render engine. See how I put small radii in the corner so the 100% curvature and normal wrap along the edge beautifully into the double thickness edge curvature ( I keep that to the same radii as the pattern thickness so it's works well.)

Lighter blue so you can see more of the edge detailing treatment as I work.

The stitching under the pocket flap is usually just seen, I have turned the color up with a very dark thread ... so you can see it, (pick stitching) that would be lighter typically - but see how I include it in the seam detailing that can be adjusted.

Bias change on pattern > 45d. The advantage I have in this workflow if if I save out thick or thin I can get the same render quality on all the edges with normal's in my photoreal render software (external to CLO3D).
I use almost the same process for making all my CG 'jet' button holes, only I might toss in some extra creasing detailing in the texture maps.

350 button hole styles in my library and still counting. Exact placement scan + masking maps.
 0
0
コメント