Why does my 3d garment hang so loose on my avatar (despite me changing the measurements to very tight)?

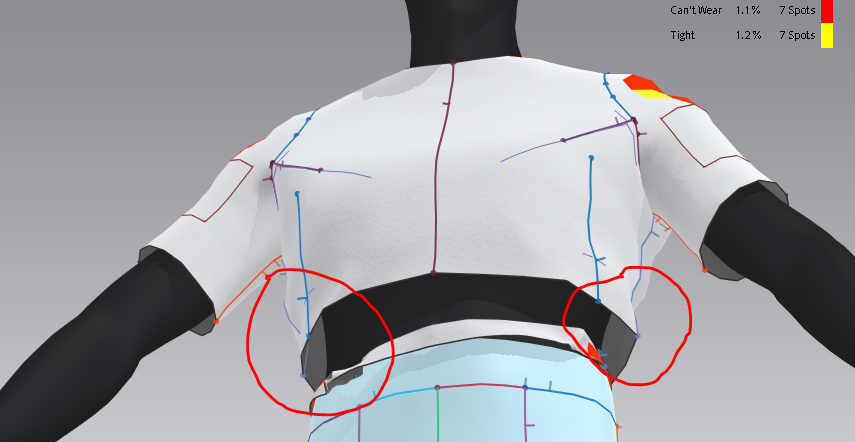
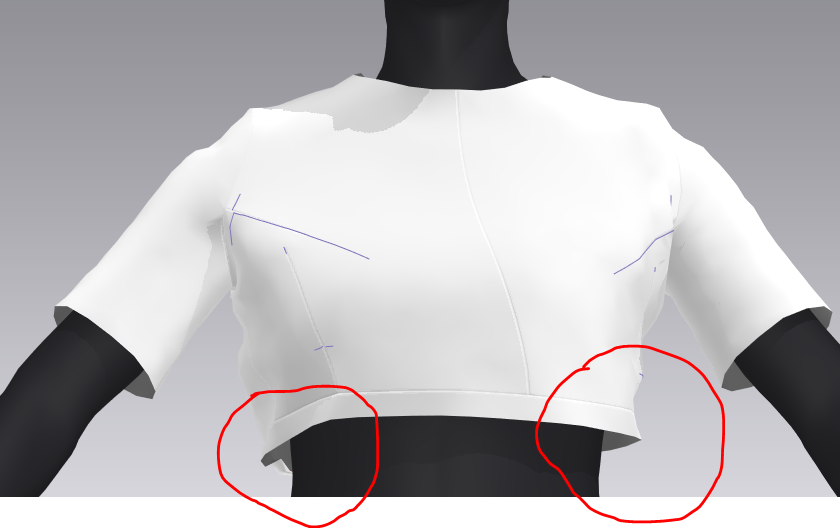
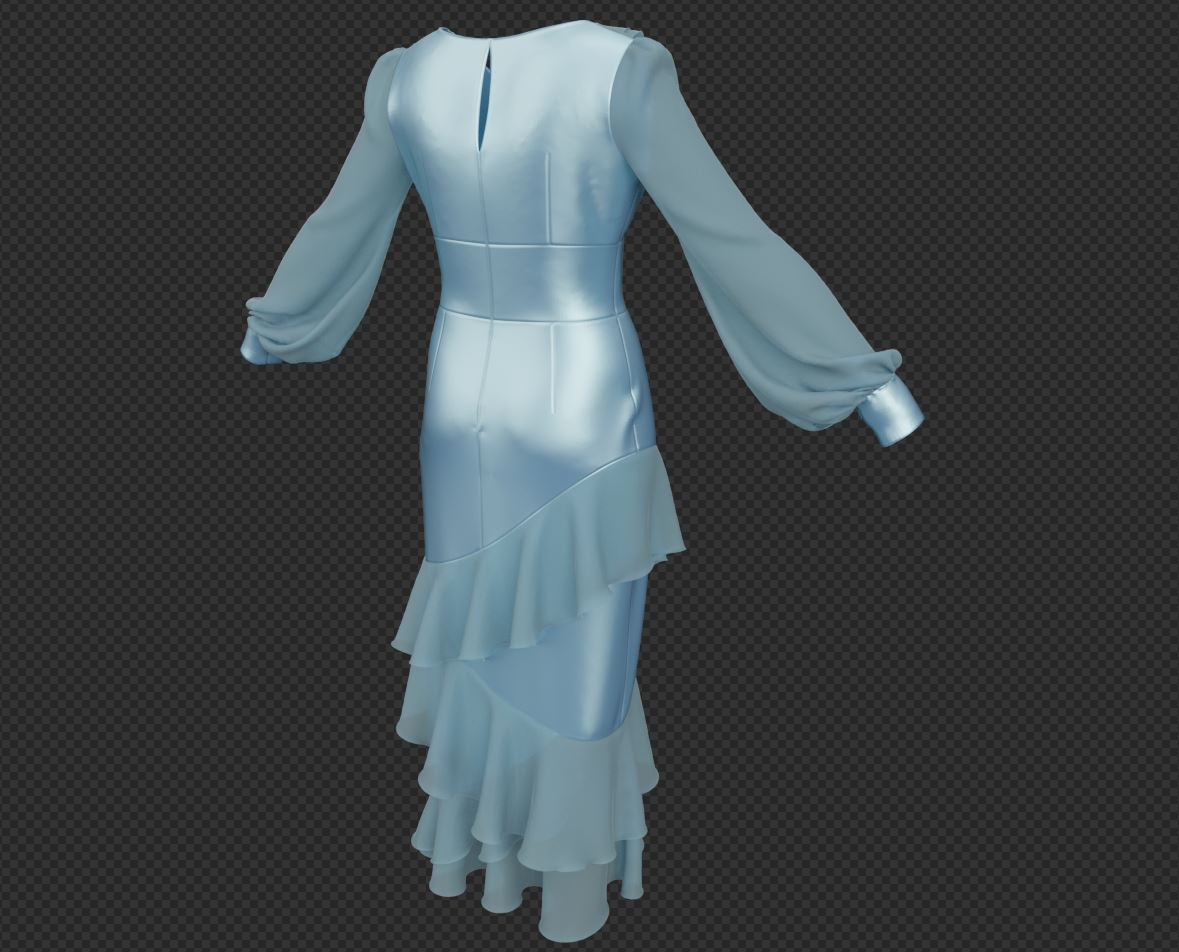
I am trying to make a tight crop top in stretchy jersey material. The first time I rendered, it fit very skin-tight on my avatar and was just what I was looking for. The next few times I rendered, the clothing "expanded" and now hangs loosely on my avatar although I never changed the initial measurements. The waist is around 25 inches - my crop top waist is 25 inches as well and yet there is still a gap between garment and the avatar (as seen in the pictures). I've experimented and even reduced the garment waist to SIXTEEN inches and yet it still hangs loosely on my avatar. How can I fix this issue? Thank you!
-
Both the avatar and the cloth patterns have a collision offset setting. And then the fabric physical preset also has a thickness. This means for some custom settings or scaled incoming avatars you may need to check all 3 of these settings so the garment collides closer to the surface of your avatar.
1. Select the avatar and in the 3D window and read off the surface offset in the property editor. > Reduce to get a closer simulation.
2. Select the pattern pieces in the 2D or 3D window, and check their additional collision offset distance. > Reduce to get a closer simulation.
3. Select the fabric in the fabric stack tab (left above the property editor) and open out the fabrics physical property preset (little triangle) > Physical property > Detail > thickness > make sure it is set to something sensible real world fabric thickness 0.5mm.
4. Finally make sure you are viewing your garment assembly in the 3D window under the right visual preview conditions > thick textured surface (Alt+1) and not as a thin mesh view.
When you import a new character avatar at a small scale (CLO3D works at human scale with all it's defaults) you need to check that these basic collision offsets and thicknesses are correctly scaled for your project.
Hope that helps spin you in the right direction.
1 -
Thank you! I will check for all those things. I restarted my laptop a few times and for some reason the garment sticks tightly to the avatar now.
Some follow up questions -
- For your #2, do you mean "Addt'l Thickness - Collision"? Is this the distance between garment pieces or what exactly does it mean?
- What's the difference between setting the thickness in the fabric property (your #3) and setting "Addt'l Thickness - Rendering" in the garment property editor?
Thank you Ottoline, much appreciated!
0 -
#2 yes > additional Thickness -Collision. This is added to the fabrics thickness. So if a fabric preset has 0.5mm and then the additional thickness - Collision were 2.5mm then the total collision is 3.0mm total > and as the pattern surface sits smack in the middle of that total > this means the pattern surface has 1.5mm either side of the pattern piece in distance whereby other objects and surfaces collide. So this becomes crucial when you view garment assemblies in the 3D window, as you have two viewing modes (thin) textured view (Alt + 2) and thick textured view mode (Alt + 1).
The thickness in the fabric stacks preset and property editor is the actual measured thickness of the fabric when tested on the CLO3D emulator machine for physical settings which applies to the fabric material shader > therefore when you drag and drop it onto patterns they all get this thickness applied. But then the pattern piece additional thickness - rendering is only added per pattern piece, and is a visual increase when viewed in the thick textured mode. It is therefore possible to get settings that sit outside actual collision distances leading to some rather conflicting results. Therefore this is actually the first aspect of CLO3D that I always teach, as it can effect a garments construction and simulation at seams and on the avatar the most. Also note the avatar has a default 3mm offset, so you also need to factor that in.
It's a great idea to get to grips with these settings early on in your training as they are possibly the greatest source of garment assembly errors that people make.
1 -
Hi Ottoline - thank you so much, this makes a lot of sense! Just one point of clarification - do you mean that, for example, a pattern piece with the below properties will still collide with other pieces if that piece had:
- Additional Thickness - Collision at 2.5mm, which means that there is a 1.5mm barrier on each side of the pattern before it collides into other pieces
- The property thickness of that fabric is 0.5mm
- But if the Additional Thickness - Rendering is set at for example 3mm, that means that the piece's overall thickness is 3.5mm if viewed in thick textured mode, which means that it surpasses the 1.5mm collision barrier on each side of the fabric? Which means that it can still collide into other garments?
Sorry if the phrasing of this question is confusing, I can clarify if necessary. Thank you so much in advance!
0 -
Yes. (1 + 2)
Yes (3) Basically the Additional thickness rendering can be set to a visual overlap and then if you decide to export a Thick mesh model (not a single thin surface model) you can actually get model that has overlapping surfaces in some areas, eg: seam joints and pattern pieces. Or on a single layer avatar or prop with a coarse mesh 'poke through'. So you need to stay on top of this.
CLO3D's offset algorithm is extremely good in collision so if you are exporting models you can create an efficient garment by taking note of these settings and then mimicking them exactly the same in your next workflow, which will result in an identical look to the mesh surface geometry > eg: for non destructive thin mesh models exported to modo,maya,blender. You can export a thin mesh model and then apply the same thickness modifiers to your entire garment and all the seams and radi and thickness can be retained as a thick mesh on a thin mesh, using a modifier stack. This keeps the exported model small (low poly mesh) and retains editing stacks that are quick to administrate (eg: in animation where you use mesh vertex vector motion like .abc format) so that can be crucial understanding when animating a garment outside of CO3D and passing on CG garments to 3rd parties.You can get exactly the same mesh efficiency on a single surface mesh export from CLO3D when you know how the mesh offset thickness works as a accumulative set of values. Many people never learn this and always export thick (double surface) models and get massive files. Why it's such an important step in the knowledge of digital garments as it can cut down on mesh size models that get exported, yet not lose any of the editing flexibility downstream for thin mesh exports.
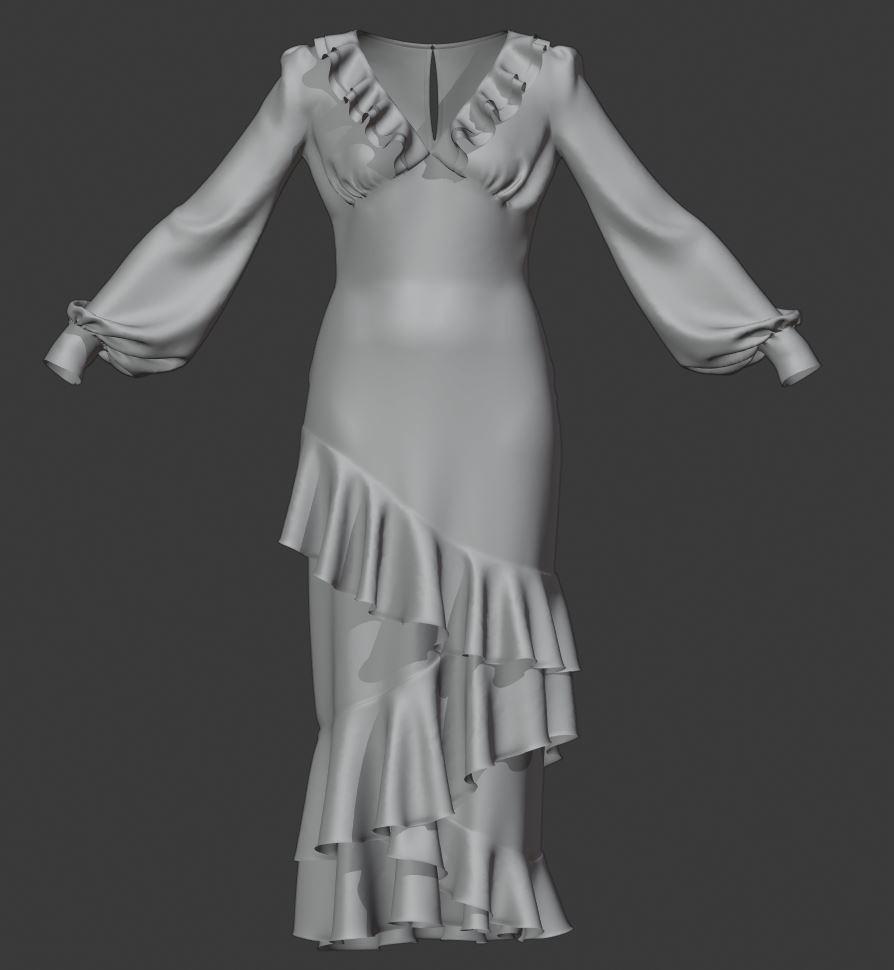
Below thin 'welded' single thickness surface mesh export > Modo/blender (note all the nice edge thickness is gone and the seam joints are now continuous). That's and problem in the next workflow for CG. But it can be rectified in a single click using a non-destructive (fully editable) element dropped onto the 3D model in the modifier stack in the next workflow to bring the model to the exact same visual look inside CLO3D's 3D preview. This means the artisan is only ever pushing around a thin mesh model - great for animation or further clay detail sculpting.
Then a single thickness modifier is applied to the thin mesh export model (drag and drop) that matches the exact values I had on the two fabrics and pattern pieces (accumulative) in CLO3D - which makes all the thickness and pattern edge (normals) now appear exactly as they did inside CLO3D/MD.
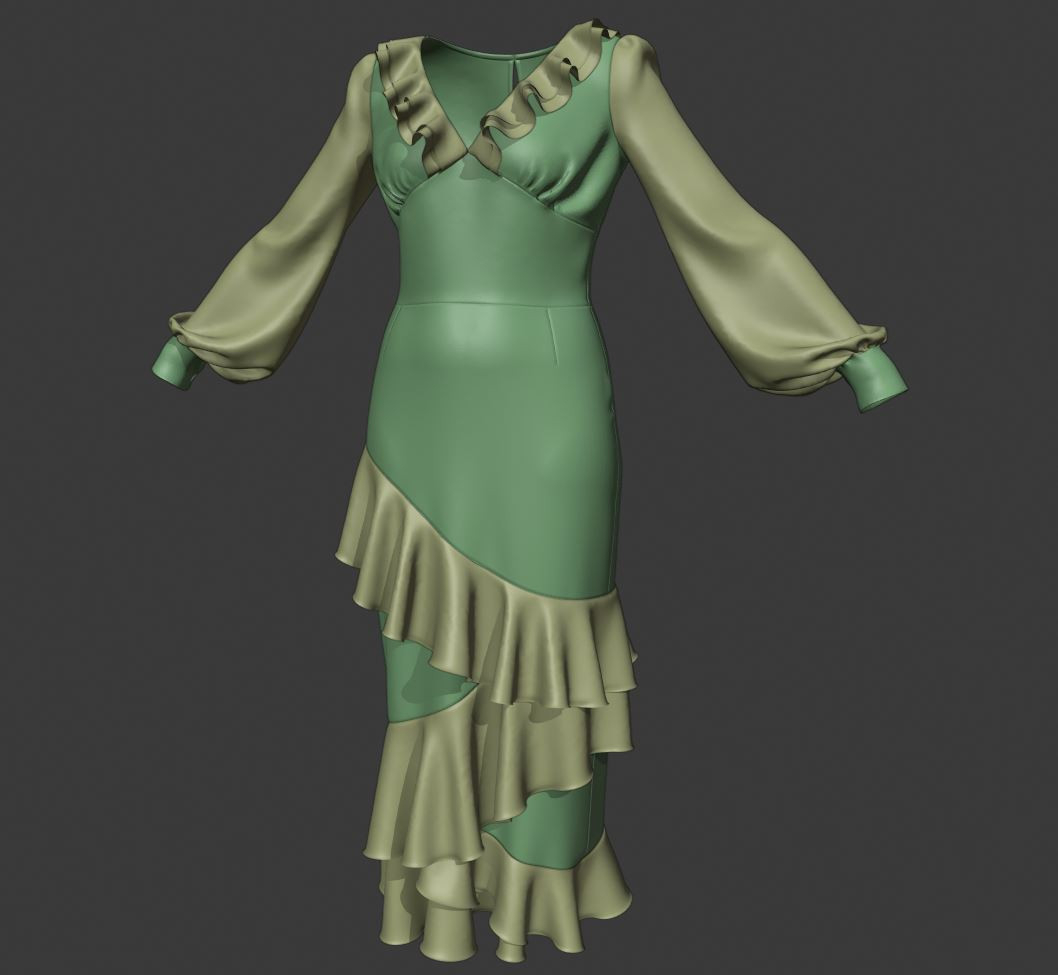
And below the normals at edges still remain editable (as does thickness) meaning the next artisan can adjust the overall garment externally just like you would in CLO3D - on a small single mesh surface garment , when armed with this information. So this means you can safely export thin mesh models if you want, and use a non-destructive workflow that mimics what happens in CLO3D should you need to engage with CG artists.
I fully understand this is an area of great confusion for many new users but it is possibly one of the most important learning areas that apply to all the work you will do from this point on.
The crux of the issue is yes you can get the collision (imaginary offset surface) out of scale with the visual offset thick surfaces inside the 3D preview mode. Which could be a problem if you exported a thick (double sided surface) model to external CG artisans. Therefore it is important to monitor these settings and understand how they all work together.
One further point I would make on the simulation physical preset front > is if you change the visual thickness of the fabric (additional render thickness) it does not change the physical mass and therefore the drape might expect to make the garment heavier as it's now visually thicker. NO that won't happen in CLO3D as you would then need to change it's mass manually in a custom fabric preset or by design (bond) a second backing layer to a single pattern piece that add more mass to that element. (Now you head is imploding with all this new information - ha)
So if you do change a garment where you have a double layer build up and only use a single pattern piece (this is possible to do) then you need to also monitor the mass of that pattern piece for phyical weight if you are animating or draping. In CLO3D you can add in a second material to a single pattern piece using the area skive and bond feature- where you get to choose your additional fabric - this will then do this automatically. But for some garments that bounce around in animation as assemblies you may need to keep an eye on this issue if they appear to light or springy (you can dampen this is the fabrics physical preset) - so yet more nuanced stuff to learn.
Lots to learn.
0 -
Thank you Ottoline! This was extremely helpful (and apologies for replying a month late, got caught up in some other work). Appreciate the help so much!
0
コメント