Render quality. Light settings. Please check.

Hi everyone. I am a beginner but am learning a lot myself.
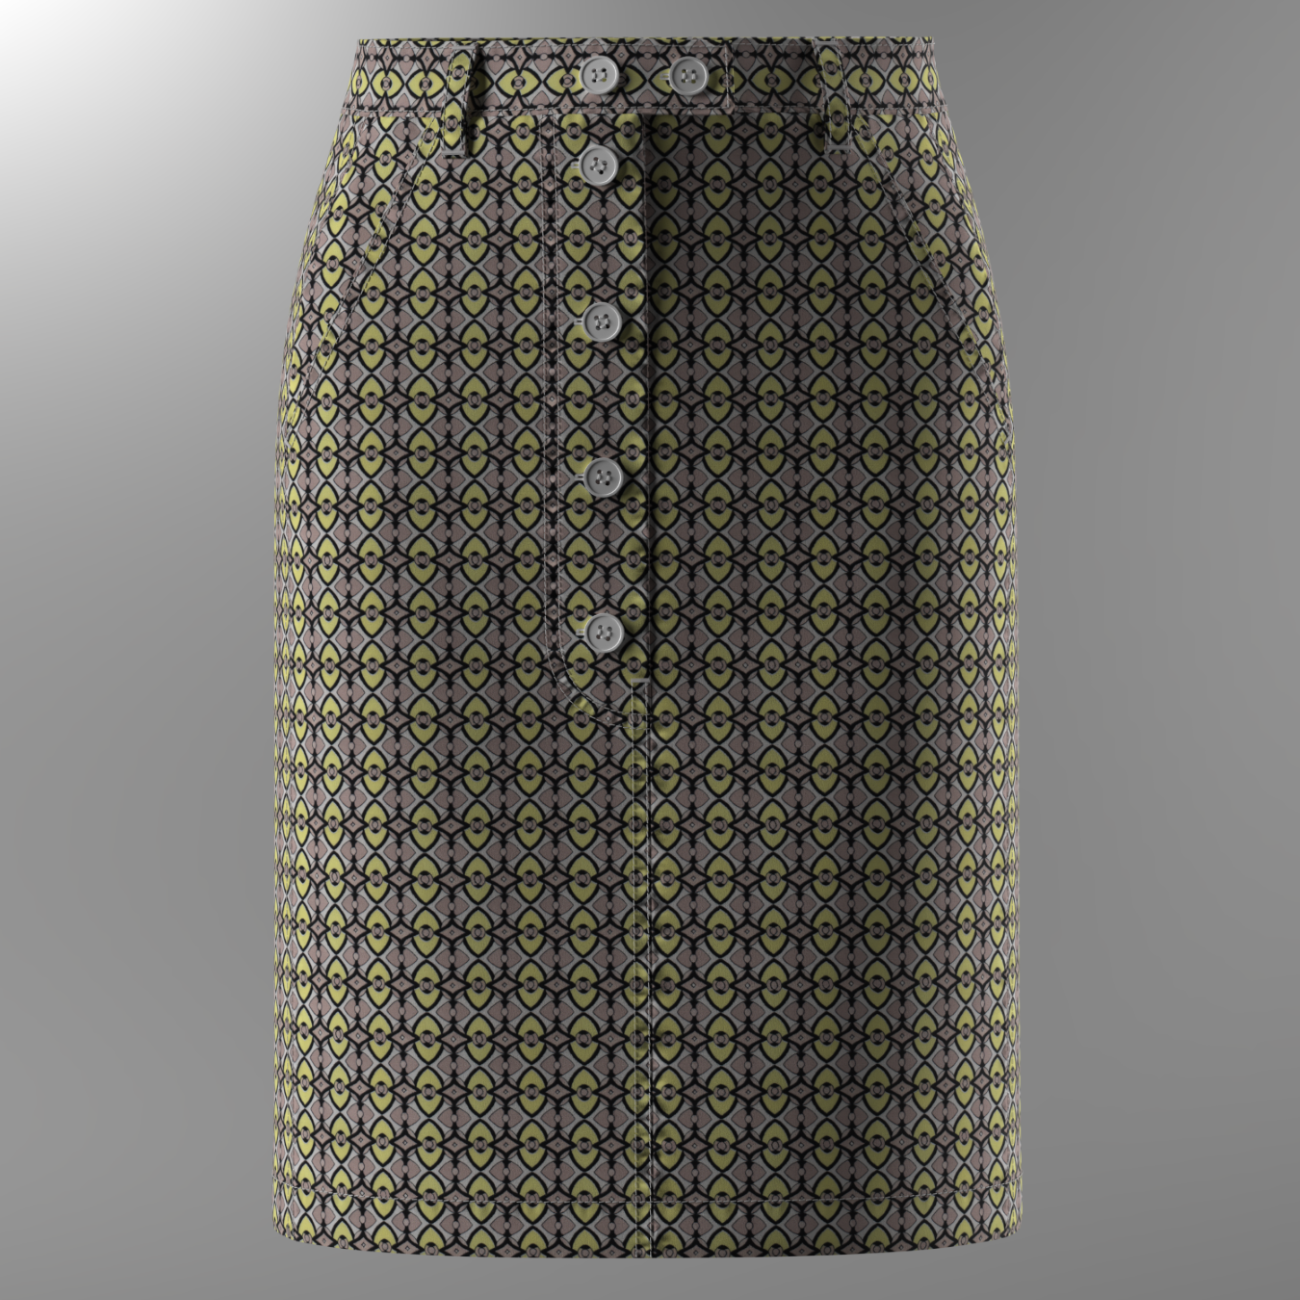
This model is my first presentation. Therefore, I have questions for the result.
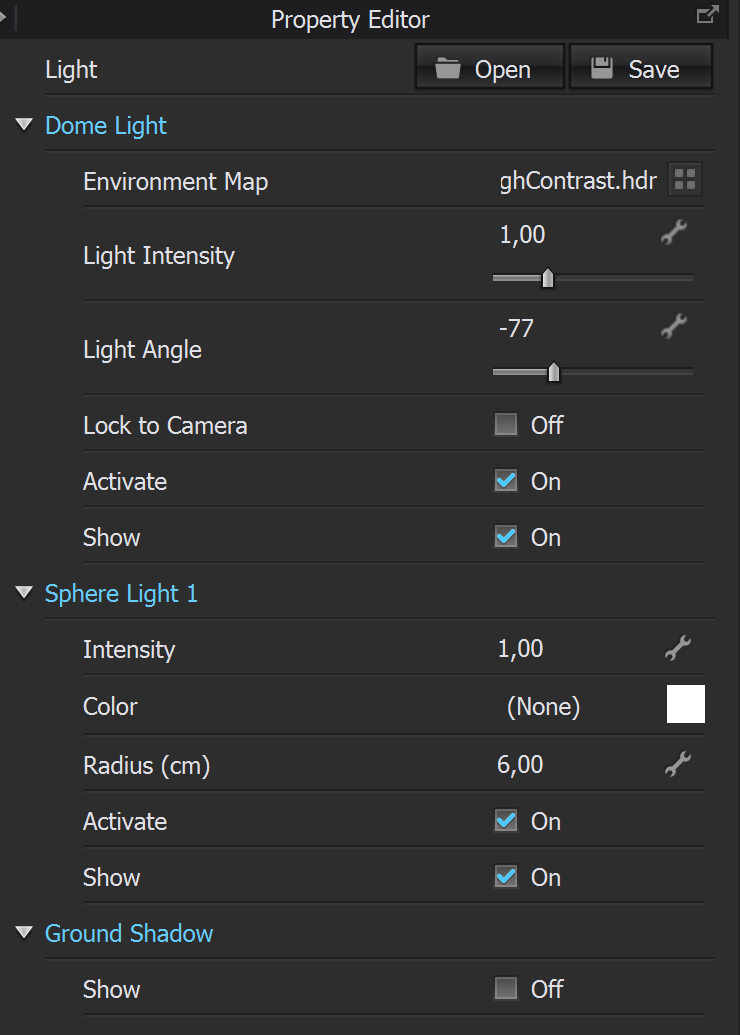
I tried to expose the light, but there are blackouts. I tried with dome light (environment map - studio_highcontrast.hdr) achieve realism.
When the photo is enlarged, the texture is not visible. But perhaps it should be, since the texture is very fine. Please tell me how it should be right.
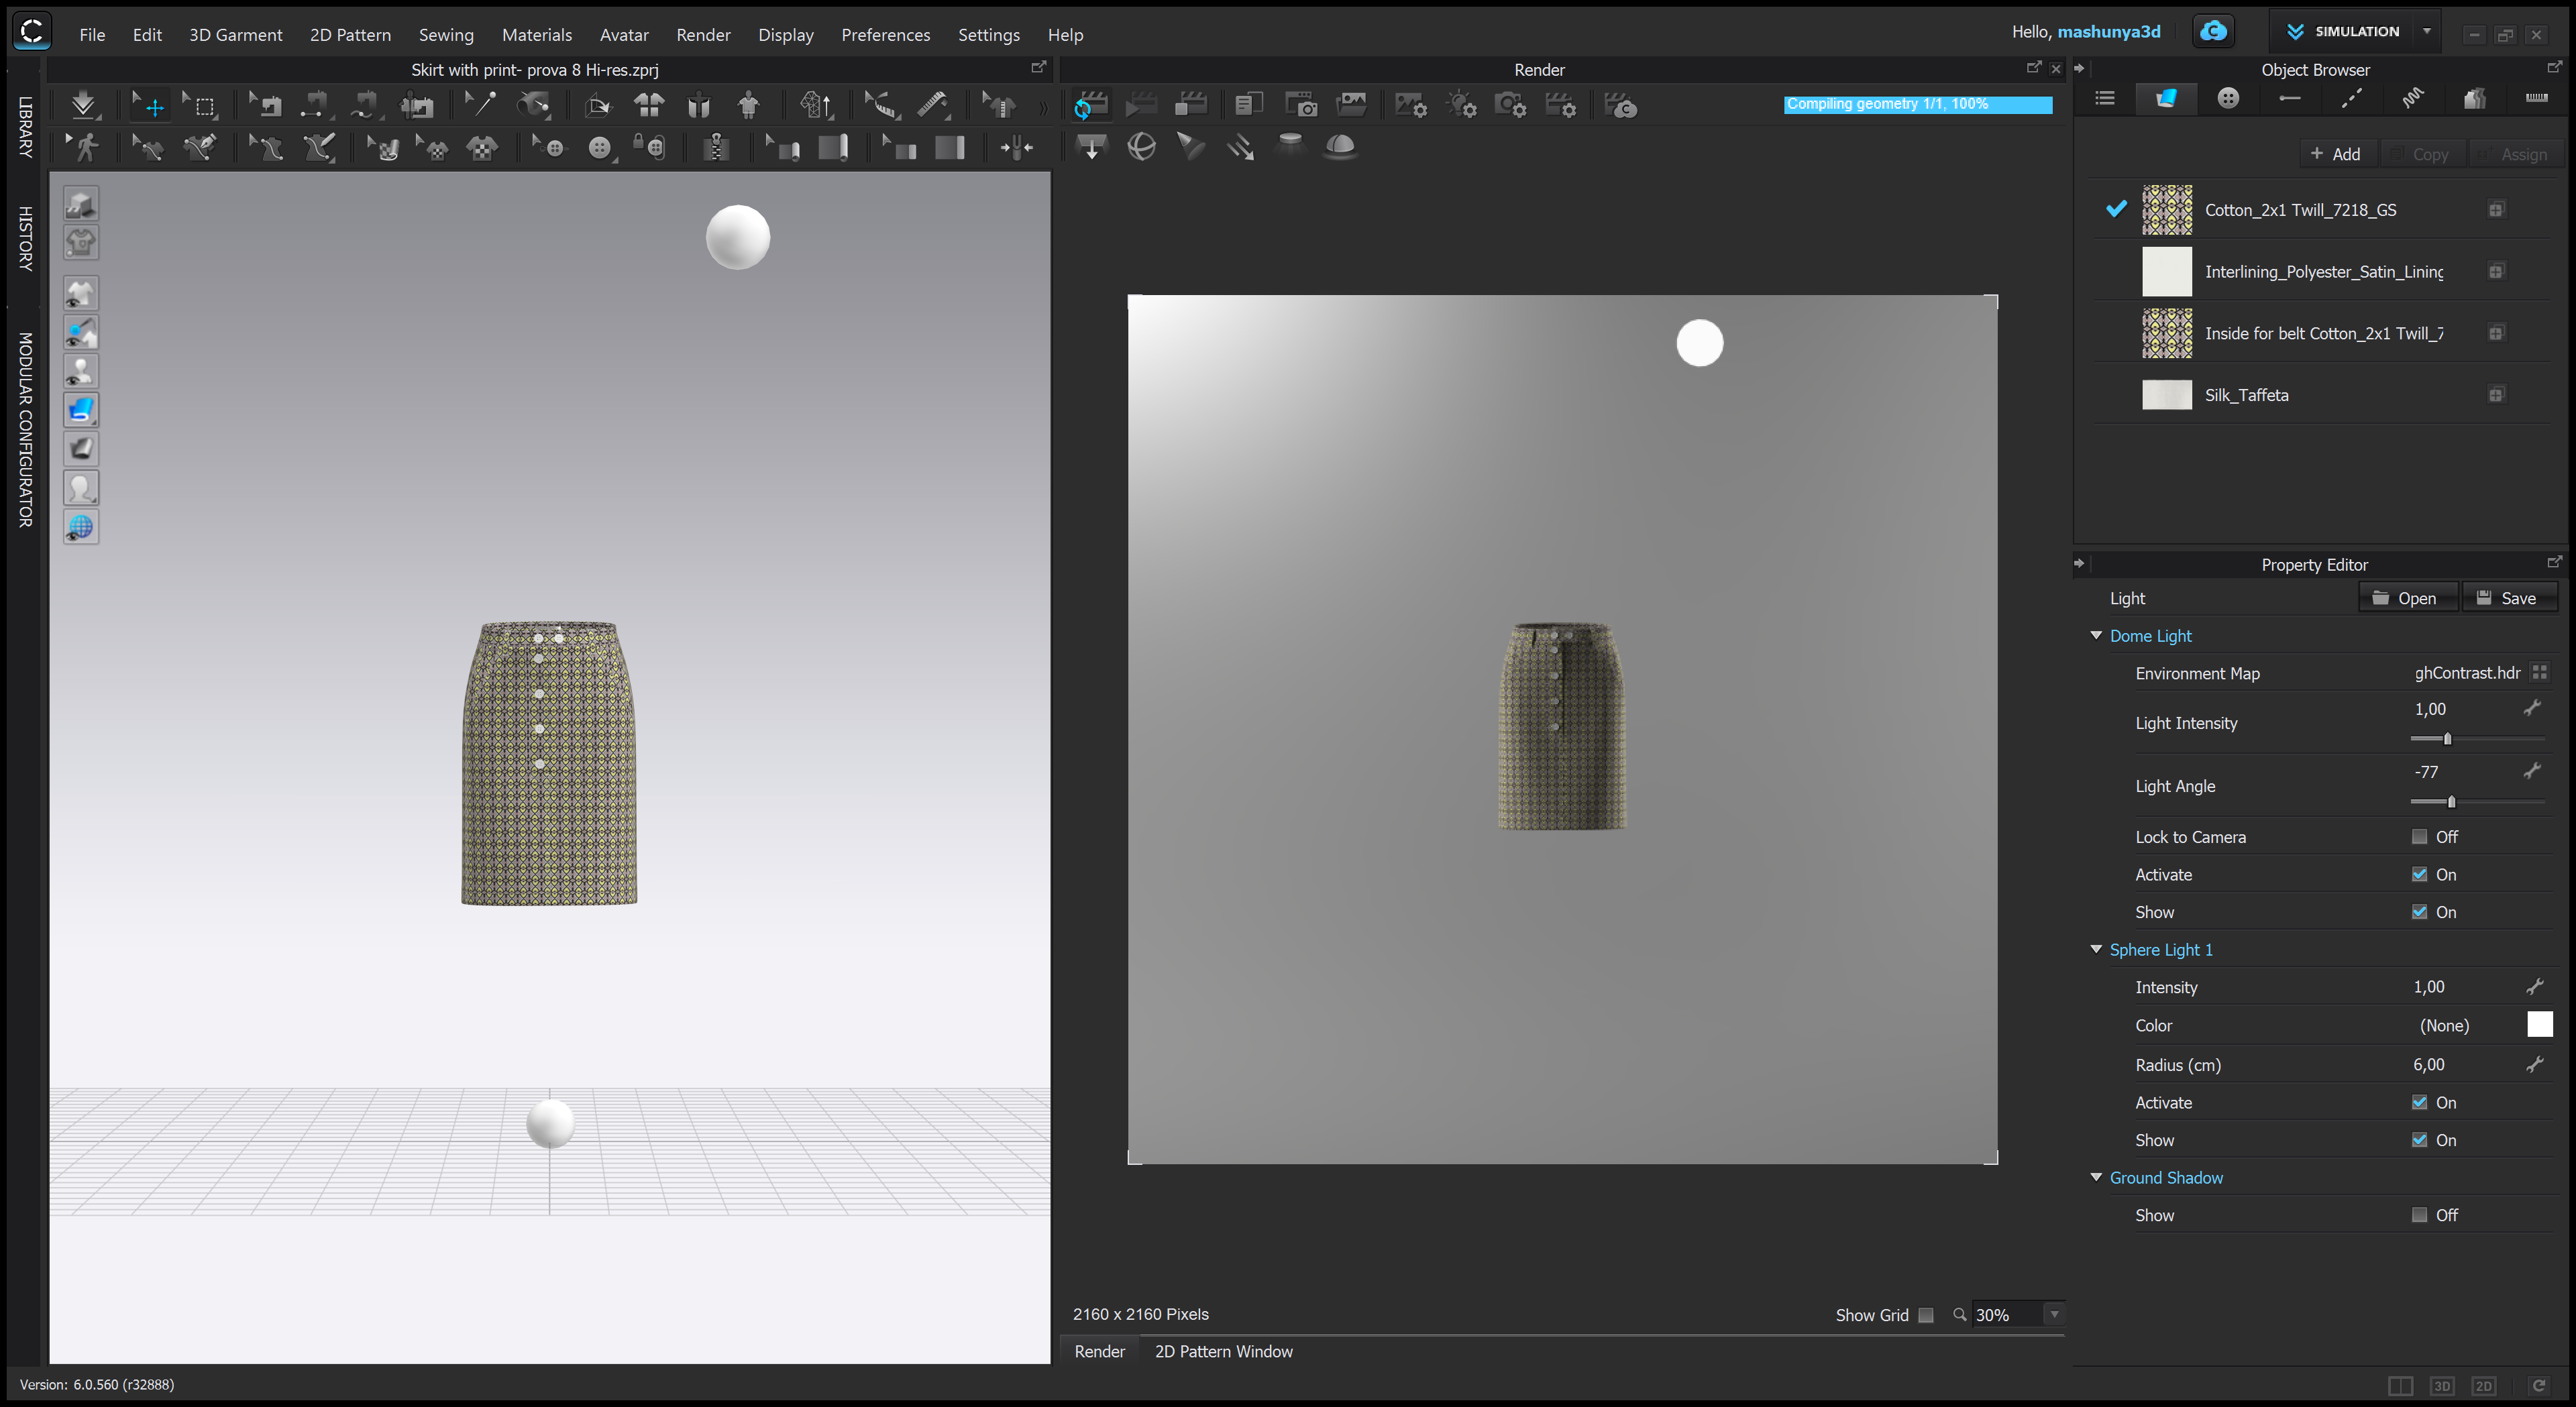
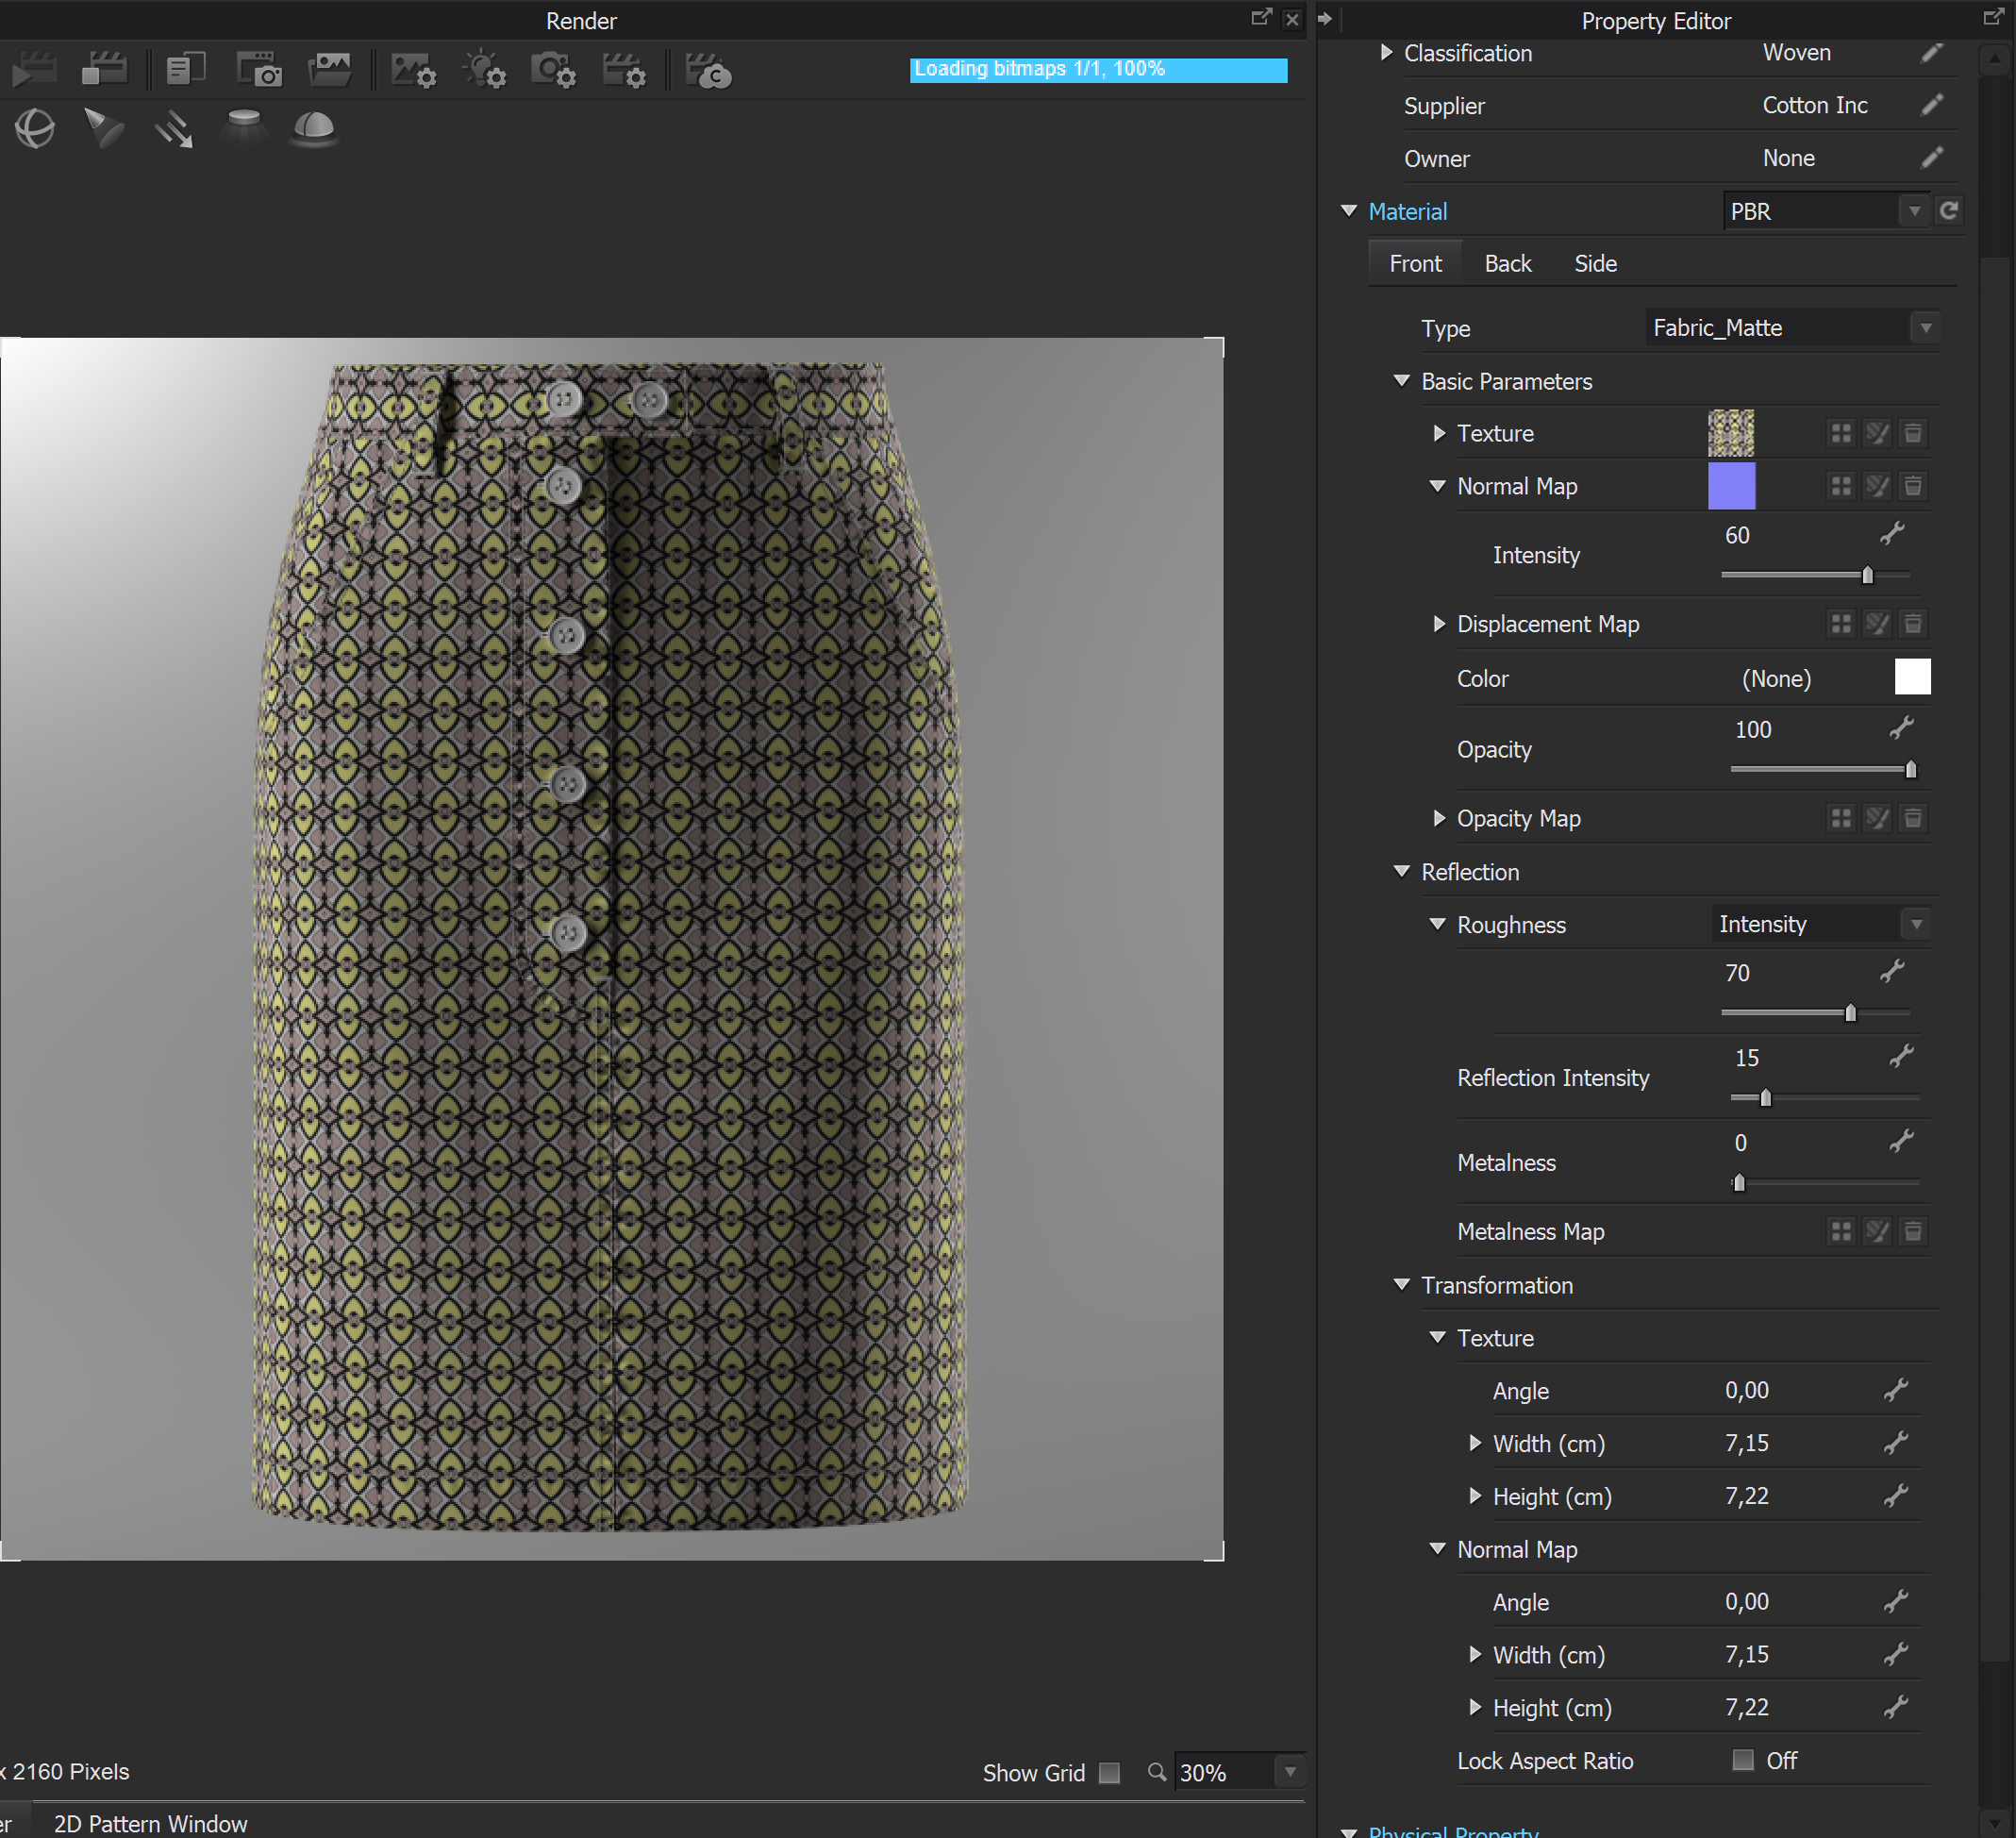
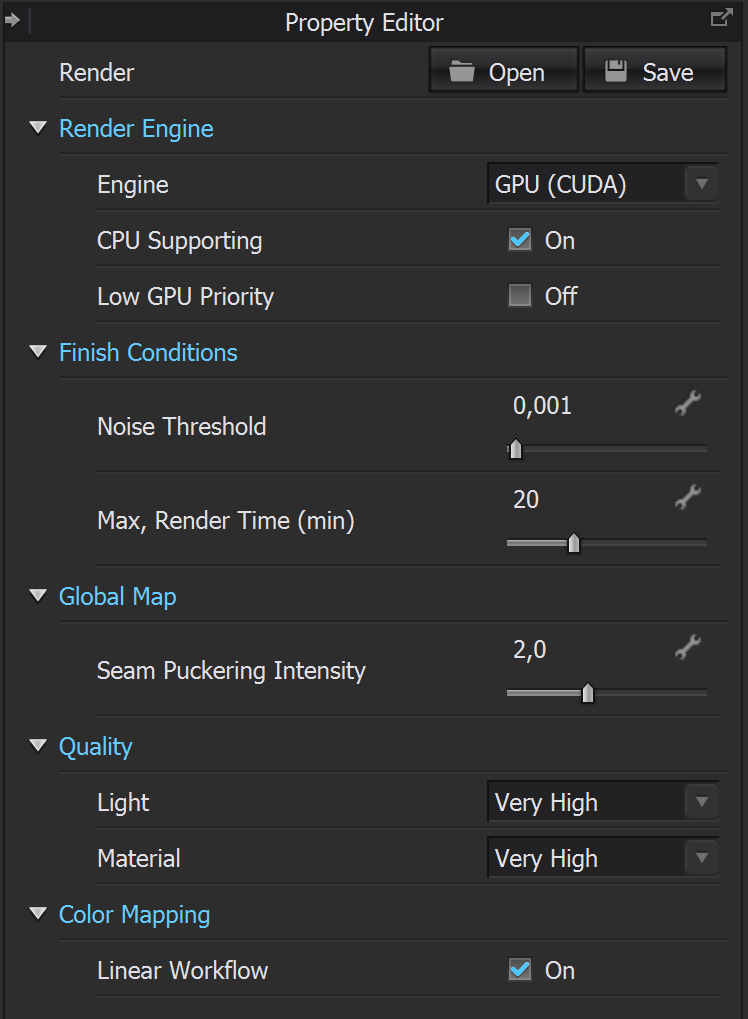
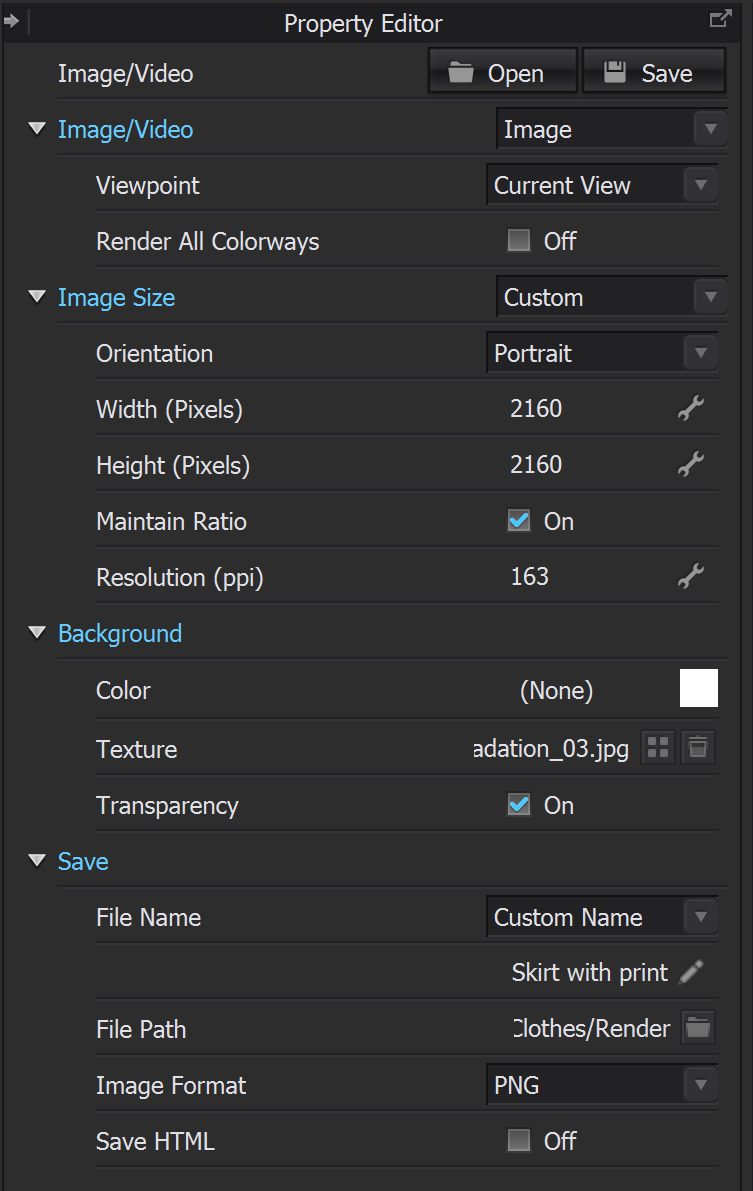
I am attaching all the settings that I made.
Normal map is cotton_gabardine_nrm
I would be grateful for any advice and recommendations.
Thank.
P.S. The physical volume of the render photo is 5.6 MB. Reduced to 2 MB to fit in the post.

-
Looks really good. I'd make a bit more organic wrinkles here and there if you're after hyperrealism. It looks too perfect. Light wise try to play with other environment maps and rotate them to get other effects.
1 -
Pablo Quintana , thank you very much for your feedback. I will follow your advice.
0 -
Hi mashunya3d,
Thanks for sharing this question with us.
To make the fabric texture being more visible, we recommend increasing the intensity value of the Normal Map under Fabric, especially for the fabric with printing.
Another tip is to change the light intensity and angle in Render - Light Properties. You can change them and preview the result immediately in the Interactive Render.

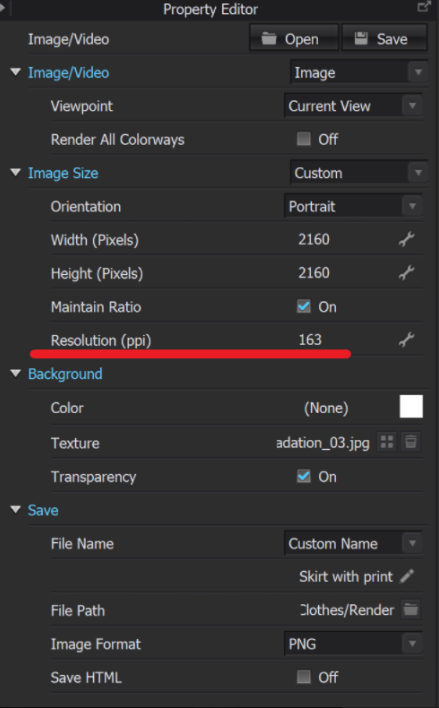
The last tip is to increase the and image resolution in Render - Image/ Video Properties. You can change the Resolution to 300ppi to have better quality and higher resolution for the render image. So the fabric texture will be more obvious after this setting.
 1
1 -
Thank you very much, CLO Designers the result is really better.
0 -
mashunya3d Great to know the solutions help! :)
1
Comments