Superimpose and Sublayer - what the difference? (Plus question about Puckering)

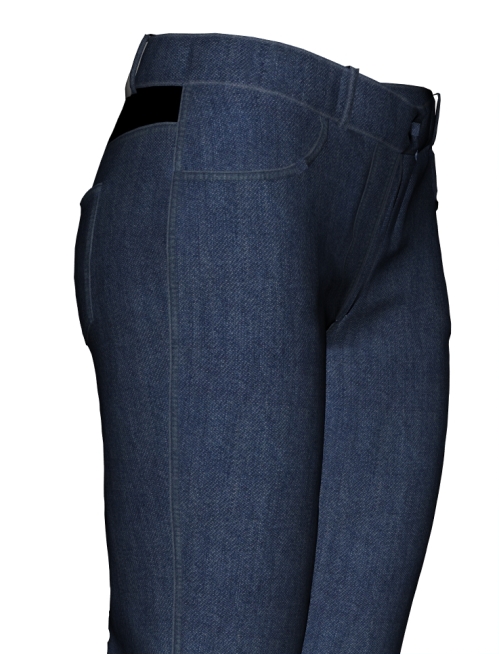
Hello! I have a noobish question about layeing options in CLO. In early versions of Marvelous Designer which I get accustomed to, we had only Superimpose function (and I never understood, what is Superimpose-Side for), now in CLO I stumbled upon Sublayer. As I noticed, almost all MD garments can be opened and simulated in CLO very well, expect from complex layered garments (like denim pants) with a lot of pockets, hemmings etc. If Superimpose Over\Under was set for such elements, sometimes CLO refuses to remember this, and while simulatiing, lower pockets go outside or upper hemmings go inwards under main patterns. I've red that CLO prefers Sublayer for such items, so what's the difference? When is better to use Superimpose and when - Sublayer? I guess Sublayer works best over cloned layers (2-layered belts or sleeve cuffs), can it be used for front pockets of jeans or for interlinings?
The second question - about combination of puckerings and topstitches. Can we set Topstitching above puckering, for errorless texture baking? I wanted to use both kinds of trim to imitate those classic stitched denim seams, and found that the most convenient way is to use non-stitched image of the crimpled seam for textured puckering (Texture + Normal maps), and separate topstitching lines over them. Thus I get accurate placing of this trims and change settings for them independently at any time. In CLO preview it looks right, but when it comes to baking maps, puckering strips overlap topstitching strips, and so topstitching on baked maps appears only where no puckering was applied. In UV Editor all stitching is clearly visible. How to raise topstitches over puckering strips? I know a workaround to bake just BW stitching map and use it as a layer \layer mask in Photoshop later, but I hoped CLO provides a quicker way.
To clear out the problem - here I used textured puckering for denim seams, and after baking (it's baked diffuse texture) all stitching went under pucker strips. Adding stitches to seam images is undesirable for me, because I lose the possibility to change color and other settings for stitches and puckers separately.
-
Hi lilifan2021 ,
The superimpose function works a bit like the arrangement points, as it places a pattern temporarily in a specific order based on sewing connections ( on top, under or on the side of the seamline). If you simulate, and for example you pull on the garment too intensely it can happen that one piece just poke out of the layer it was placed under. The superimpose side: If you built/simulated the shell of the garment and you just want to add a rib, it will place it next to the sewing line.
If you have problems with layers going through you can adjust on the pattern in the property editor the add’ll thickness collision. You can up this value to leave more space between each pattern pieces that are touching. It will stabilise the garment, then you can decrease again by increment and simulate in between.
The tool called set sublayer will remember the order you indicated but I would still arrange the pattern pieces before simulation with the superimpose. You can use the set sublayers on some smaller pieces like patches, sleeve heads, shoulder pads.
If you want to combine a shell and a lining that are different(pattern pieces are not strictly identical) : you can do so with placing the top part(all pattern pieces) on layer 1 (in the property editor). The process is the following: build and simulate the lining then deactivate. Build/simulate the shell, place on layer1, then deactivate. After that, activate and freeze lining. Activate shell again and simulate. It will go on top of the lining. Then unfreeze lining and simulate. Then remove the shell from layer1 and place it back on layer 0.
If you have a lining and a shell that are identical(exact same pattern piece), you can use the clone under function on the shell. This will create and place your lining under and sew it to your shell.
It should then simulate without problems.
Concerning the baking of the different maps you can try changing the blending mode in the user settings.

They are very sensitive to normal intensity... so if you think you are not seeing one of the expected normals, it is because some of the others might be too strong, for example.
I hope this helps.
Your CLO team
0
Comments